A situation where you have a block of code that is repeated within a single node can be managed with defined types. You can create a defined type with a call to define. You can use define to refer to a block of Puppet code that receives a set of parameters when instantiated. Our previous database example could be rewritten as a defined type to allow more than one type of database server to be installed on a single node.
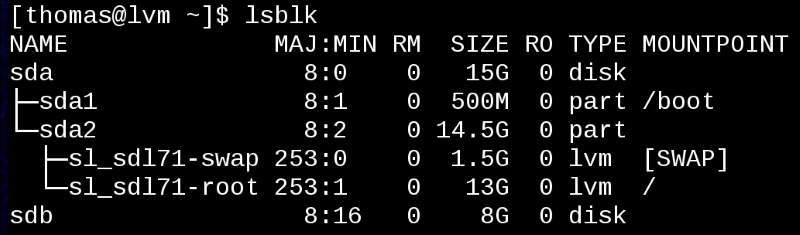
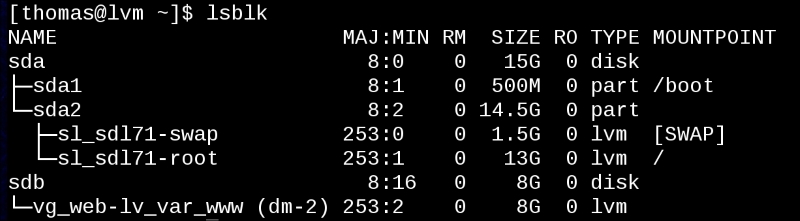
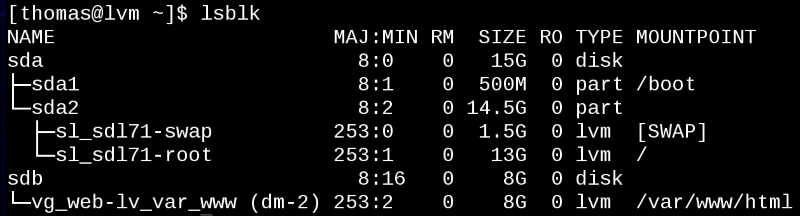
Another example of where a defined type is useful is in building filesystems with the LVM module. When we used the LVM module to build a filesystem, there were three things required: we needed a filesystem (a logical volume or LVM resource), a location to mount the filesystem (a file resource), and a mount command (a mount resource). Every time we want to mount a filesystem, we'll need these. To make our code cleaner, we'll create a defined type for a filesystem. Since we don't believe this will be used outside our example organization, we'll call it example::fs.
Defined types start with the keyword define followed by the name of the defined type and the parameters wrapped in parentheses, as shown in the following code:
These are all the parameters for our defined type. Every defined type has to have a $title variable defined. An optional $name variable can also be defined.
Both $title and $name are available within the attribute list, so you can specify other attributes using these variables. This is why we can specify our $mnt attributes using $title. In this case, we'll use the mount point for the filesystem as $title, as it should be unique on the node. Any of the previous parameters that are not given a default value, with = syntax, must be provided or Puppet will fail catalog compilation with the following error message: must pass param to Example::Fs[title]at /path/to/fs.pp:lineno on node nodename.
Providing sane defaults for parameters means that most of the time you won't have to pass parameters to your defined types, making your code cleaner and easier to read.
Now that we've defined all the parameters required for our filesystem and mounted the combination type, we need to define the type; we can use any of the variables we've asked for as parameters. The definition follows the same syntax as a class definition, as shown:
Note that we use the CamelCase notation for requiring Lvm::Volume for the mount. CamelCase is the practice of capitalizing each word of a compound word or phrase. This will become useful in the next example where we have nested filesystems that depend on one another. Now, we can redefine our lvm_web class using the new define to make our intention much clearer, as shown:
Now, it's clear that we are making sure that the /var/www exists for our /var/www/html directory to exist and then creating and mounting our filesystem at that point. Now, when we need to make another filesystem on top of /var/www/html, we will need to require the first example::fs resource. To illustrate this, we will define a subdirectory /var/www/html/drupal and require /var/www/html Example::Fs; hence, the code becomes easier to follow, as follows:
The capitalization of Example::Fs is important; it needs to be Example::Fs for Puppet to recognize this as a reference to the defined type example::fs.
Encapsulation makes this sort of chaining much simpler. Also, any enhancements that we make to our defined type are then added to all the instances of it. This keeps our code modular and makes it more flexible. For instance, what if we want to use our example::fs type for a directory that may be defined somewhere else in the catalog? We can add a parameter to our definition and set the default value so that the previous uses of the type doesn't cause compilation errors, as shown in the following code:
Now, we can use the if condition to create the file and require it (or not), as shown in the following code:
None of our existing uses of the example::fs type will need modification, but cases where we only want the filesystem to be created and mounted can use this type.
For any portion of code that has repeatable parts, defined types can help abstract your classes to make your meaning more obvious. As another example, we'll develop the idea of an admin user—a user that should be in certain groups, have certain files in their home directory defined, and SSH keys added to their account. The idea here is that your admin users can be defined outside your enterprise authentication system, and only on the nodes to which they have admin rights.
We'll start small using the file and user types to create the users and their home directories. The user has a managehome parameter, which creates the home directory but with default permissions and ownership; we'll be modifying those in our type.
Note
If you rely on managehome, do understand that managehome just passes an argument to the user provider asking the OS-specific tool to create the directory using the default permissions that are provided by that tool. In the case of useradd on Linux, the -m option is added.
We'll define ~/.bashrc and ~/.bash_profile for our user, so we'll need parameters to hold those. An SSH key is useful for admin users, so we'll include a mechanism to include that as well. This isn't an exhaustive solution, just an outline of how you can use define to simplify your life. In real world admin scenarios, I've seen the admin define a sudoers file for the admin user and also set up command logging with the audit daemon. Taking all the information we need to define an admin user, we get the following list of parameters:
Now, since define will be called multiple times and we need the admin group to exist before we start defining our admin users, we put the group into a separate class and include it, as follows:
The definition of example::admin::group is, as follows:
With example::admin::group included, we move on to define our user, being careful to require the group, as follows:
Now, our problem turns to ensuring that the directory containing the home directory exists; the logic here could get very confusing. Since we are defining our admin group by name rather than by gid, we need to ensure that the group exists before we create the home directory (so that the permissions can be applied correctly). We are also allowing the home directory location not to exist, so we need to make sure that the directory containing our home directory exists using the following code:
We are accounting for a scenario where admin users have their home directories under /var/home. This example complicates the code somewhat but also shows the usefulness of a defined type.
Since we require the group in all cases, we make a variable hold a copy of that resource definition, as shown in the following code:
If the home directory is under /var/home, we know that the home directory requires the class example::admin::varhome and also File['/var/home']. Next, if the home directory is under /home, then the home directory only needs the group require, as shown in the following code:
As the default option for our case statement, we assume that the home directory needs to require that the directory ($dirhome) exists, but the user of this define will have to create that resource themselves (File[$dirhome]), as follows:
Now, we create the home directory using our $homerequire variable to define require for the resource, as shown:
Next, we create the .ssh directory, as shown:
Then, we create an SSH key for the admin user; we require the .ssh directory, which requires the home directory, thus making a nice chain of existence. The home directory has to be made first, then the .ssh directory, and then the key is added to authorized_keys, as shown in the following code:
Now we can do something fancy. We know that not every admin likes to work in the same way, so we can have them add custom code to their .bashrc and .bash_profile files using a concat for the two files. In each case, we'll include the system default file from /etc/skel and then permit the instance of the admin user to add to the files using concat, as shown in the following code:
And the same goes for .bash_profile, as shown in the following code:
We then close our definition with a right brace:
Now, to define an admin user, we call our defined type as shown in the following code and let the type do all the work.
We can also add another user easily using the following code:
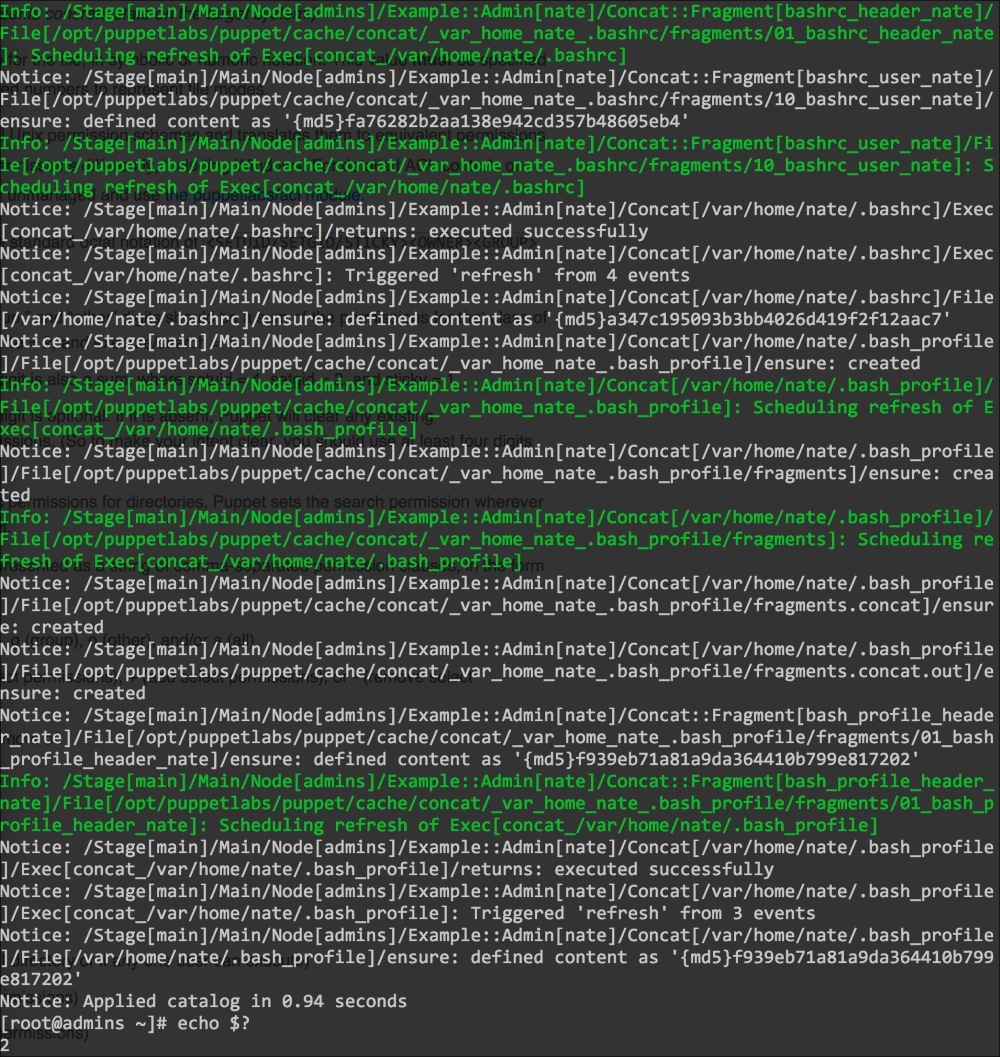
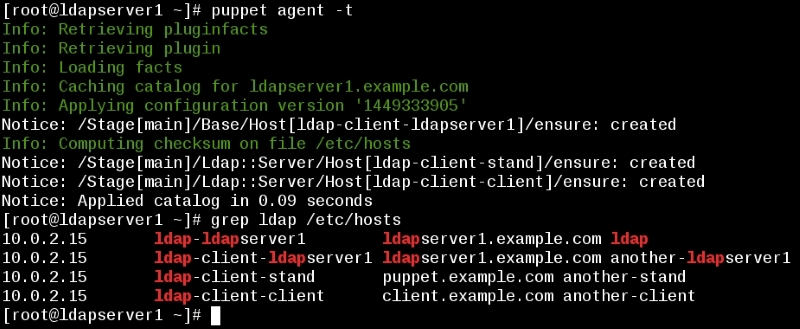
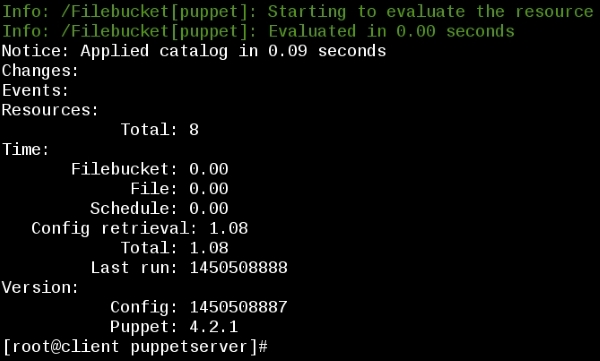
Now when we add these resources to a node and run Puppet, we can see the users created:
In this example, we defined a type that created a user and a group, created the user's home directory, added an SSH key to the user, and created their dotfiles. There are many examples where a defined type can streamline your code. Some common examples of defined types include Apache vhosts and Git repositories.
Defined types work well when you can express the thing you are trying to create with the types that are already defined. If the new type can be expressed better with Ruby, then you might have to create your own type by extending Puppet with a custom type.