We are going to create a new Vagrant repo again. We won't cover how to do that as we have covered it twice in this chapter. If you are unsure, just take a look at the initial part of this chapter.
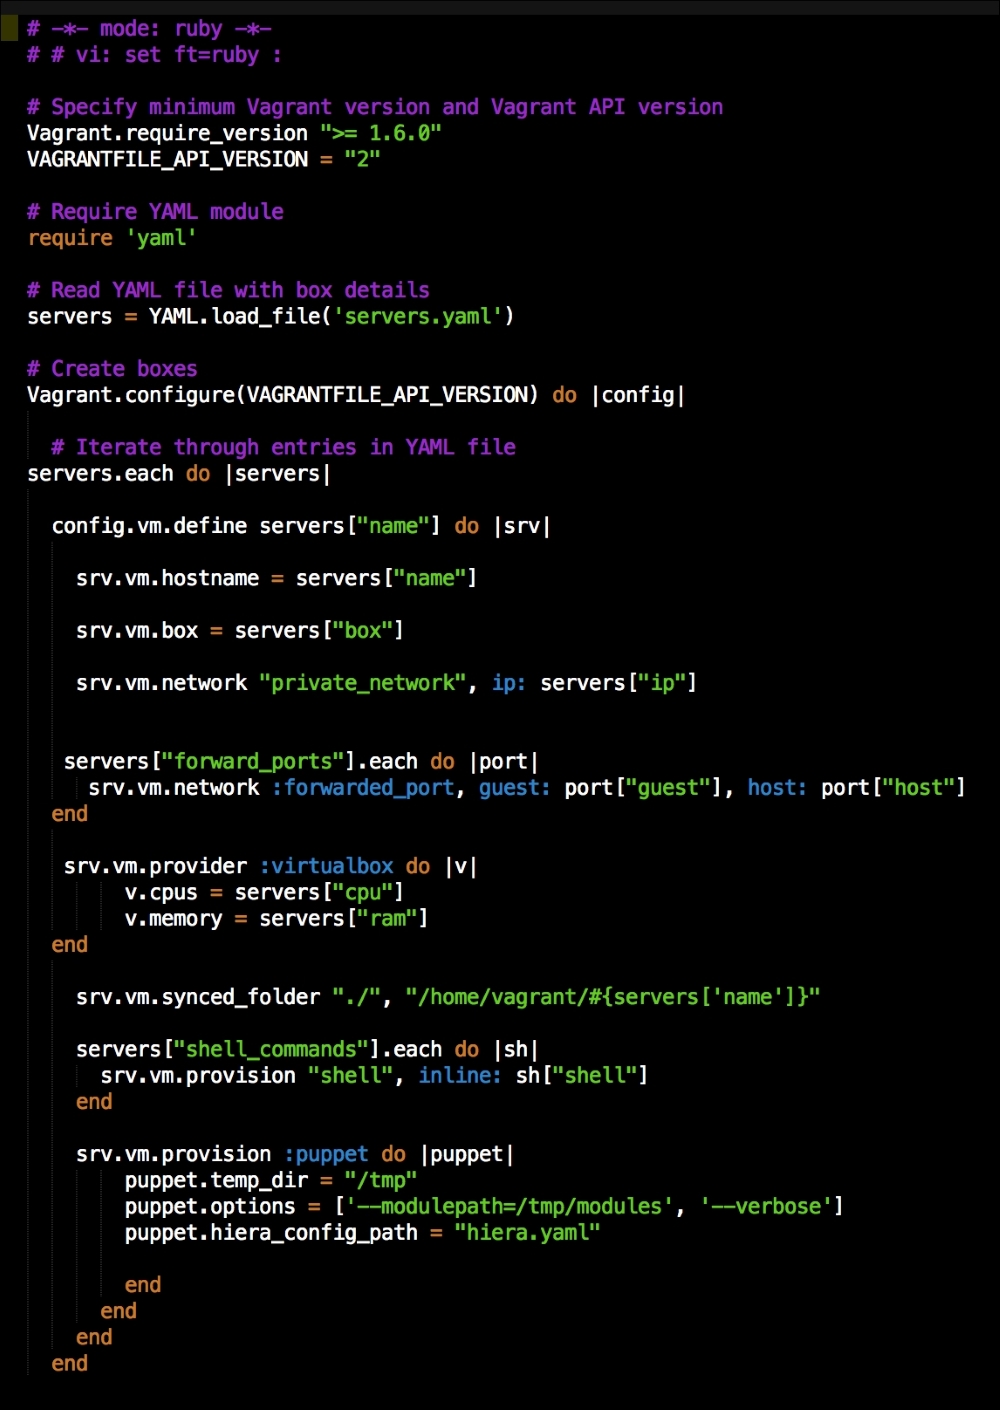
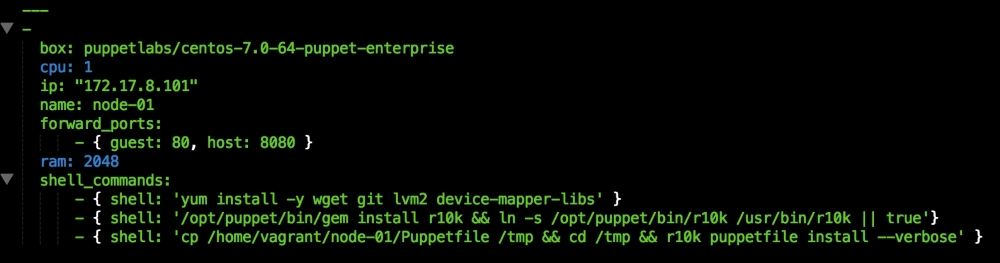
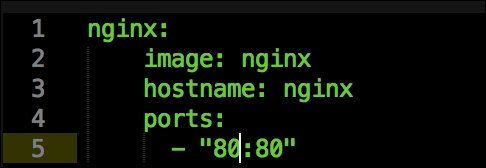
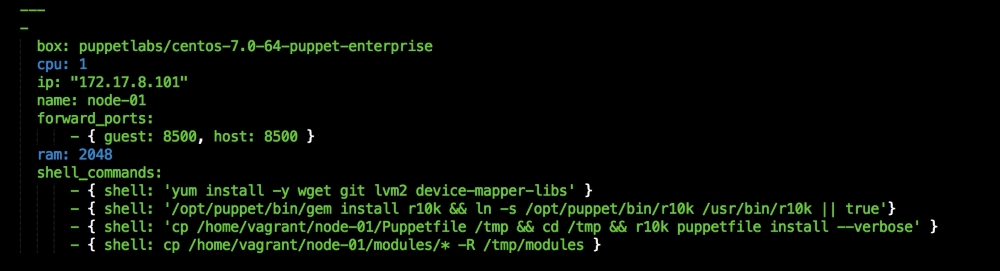
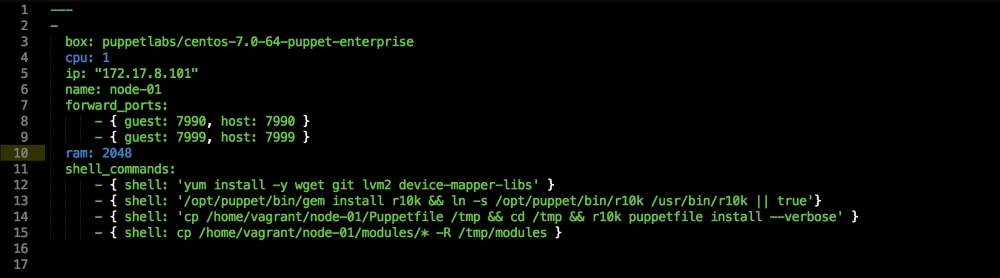
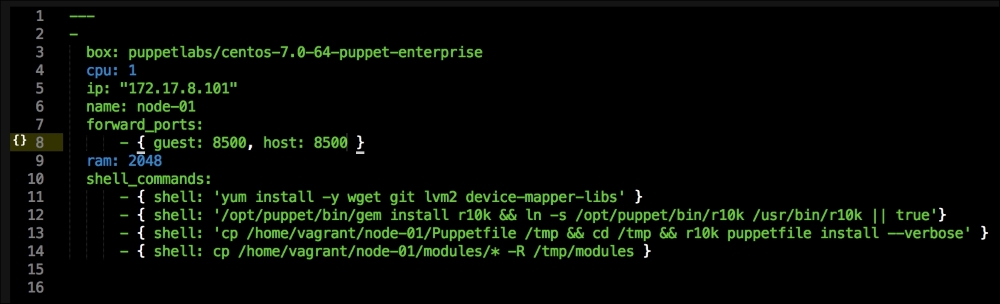
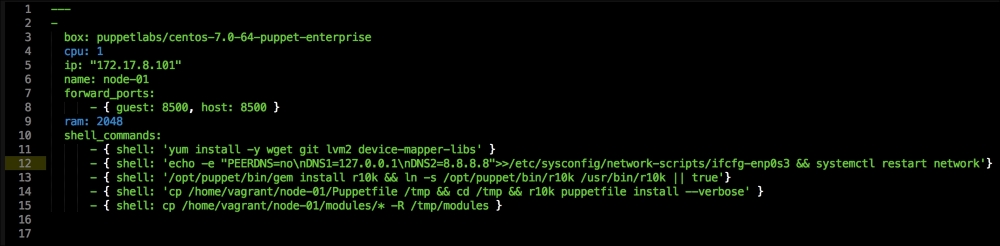
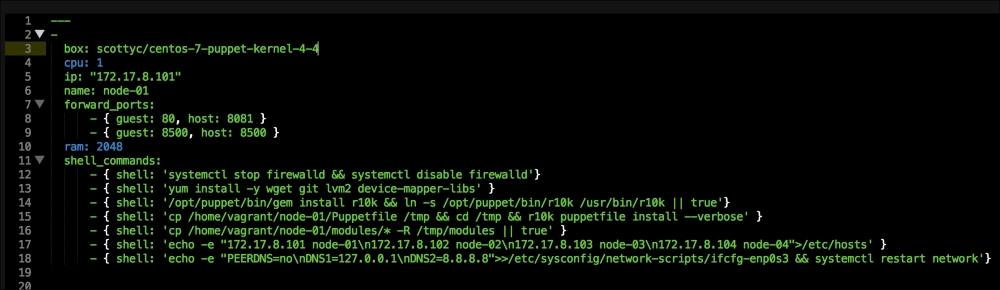
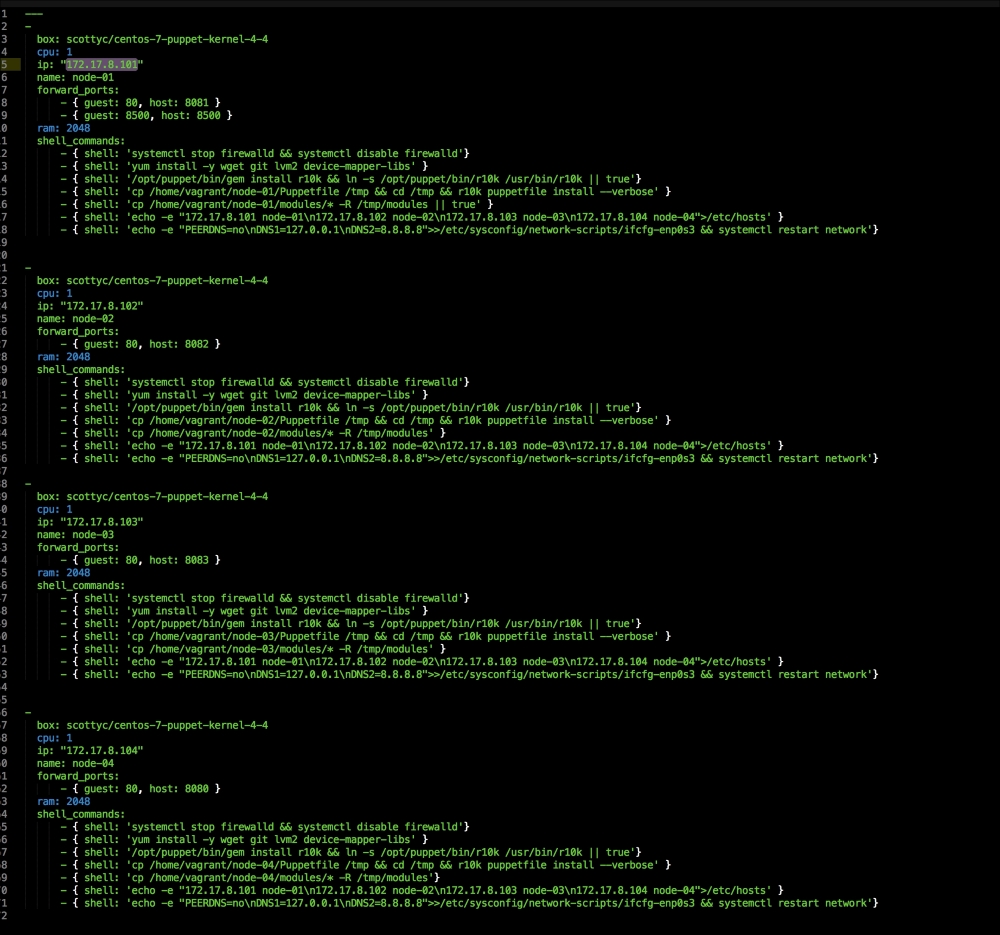
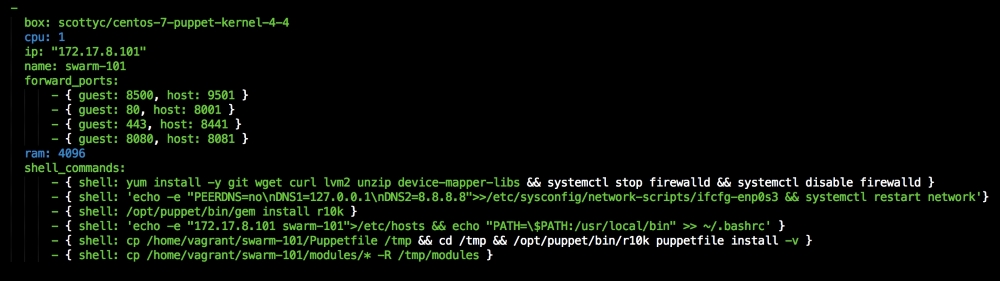
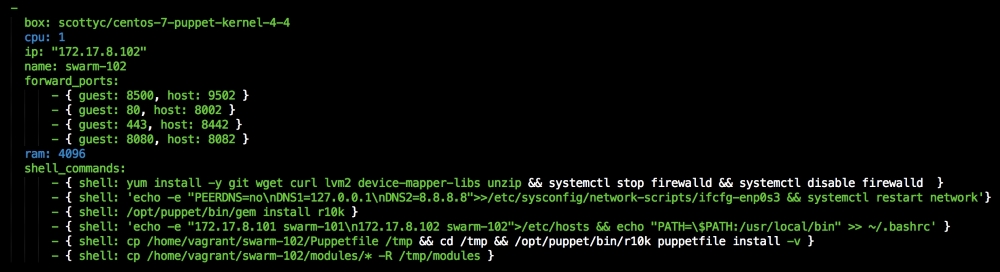
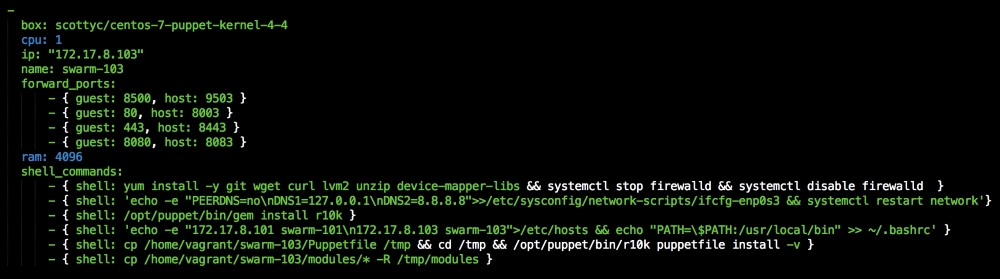
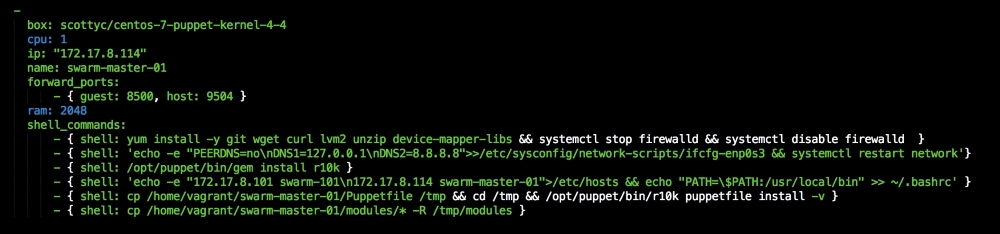
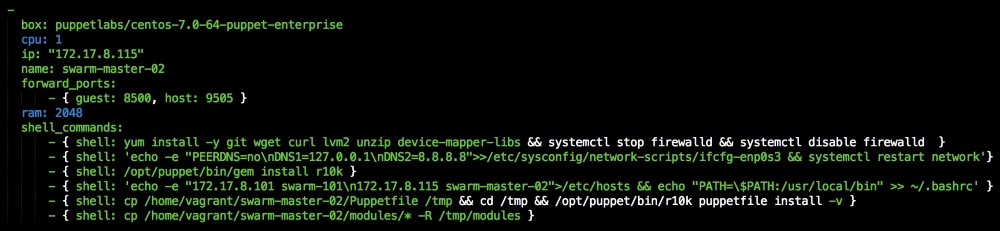
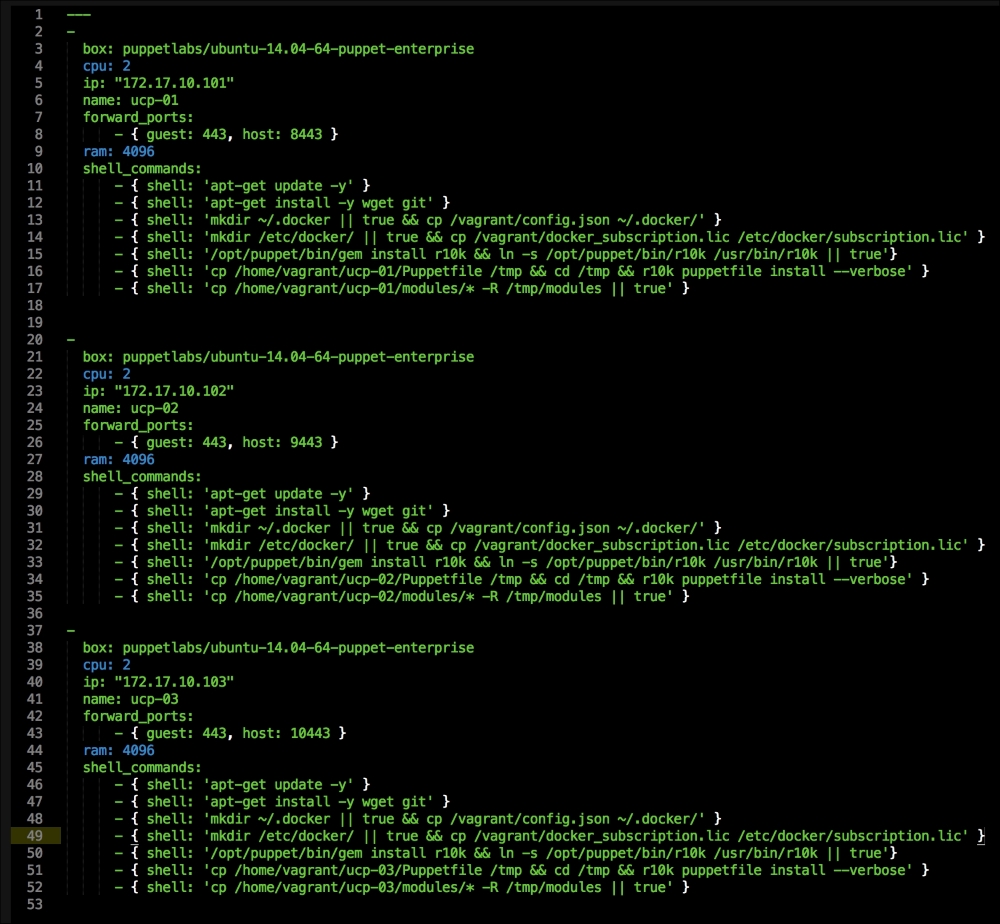
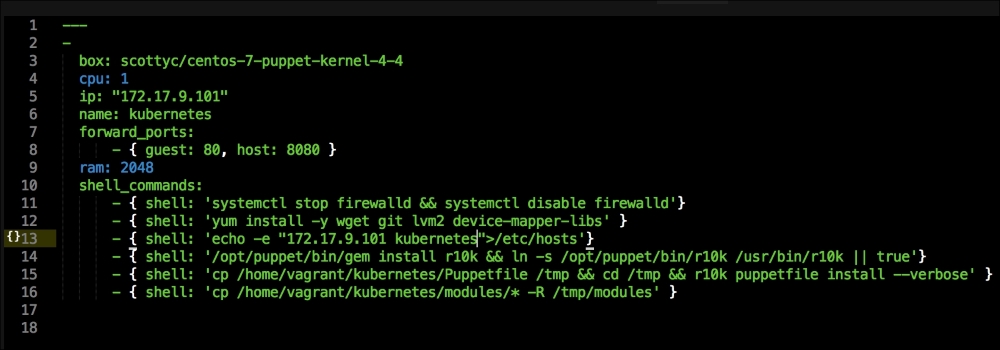
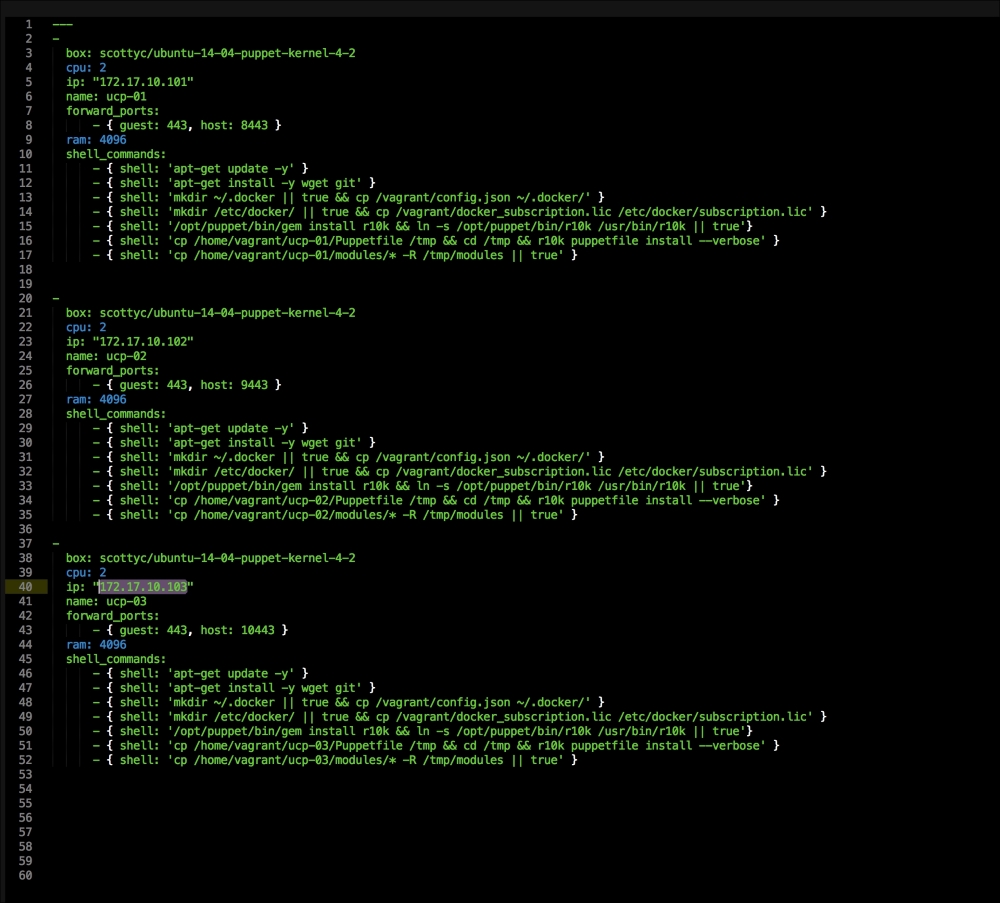
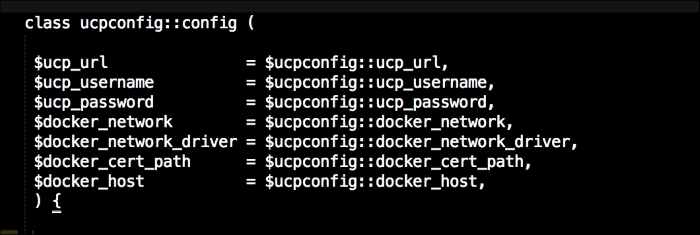
Once we have created our Vagrant repo, let's open our servers.yaml file, as follows:
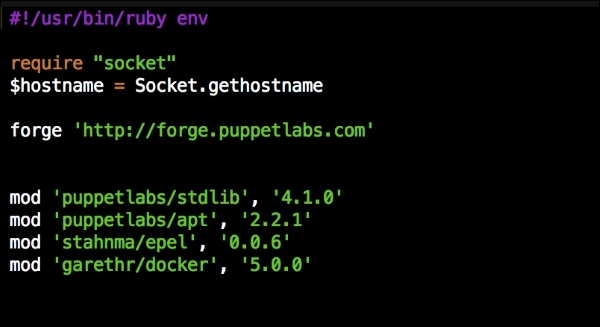
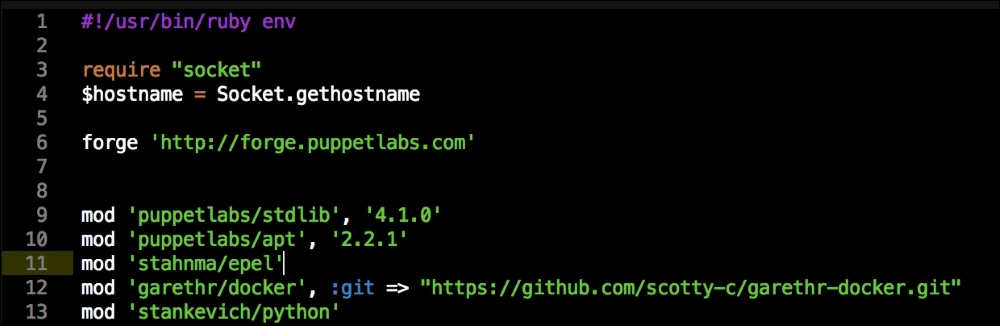
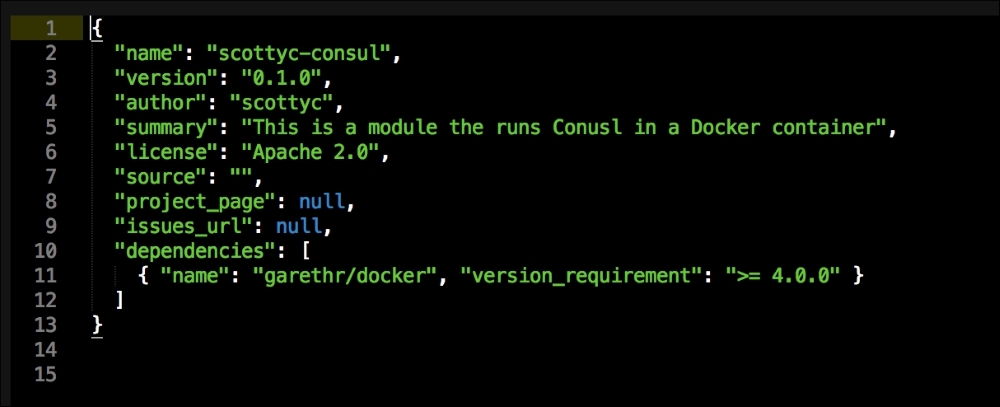
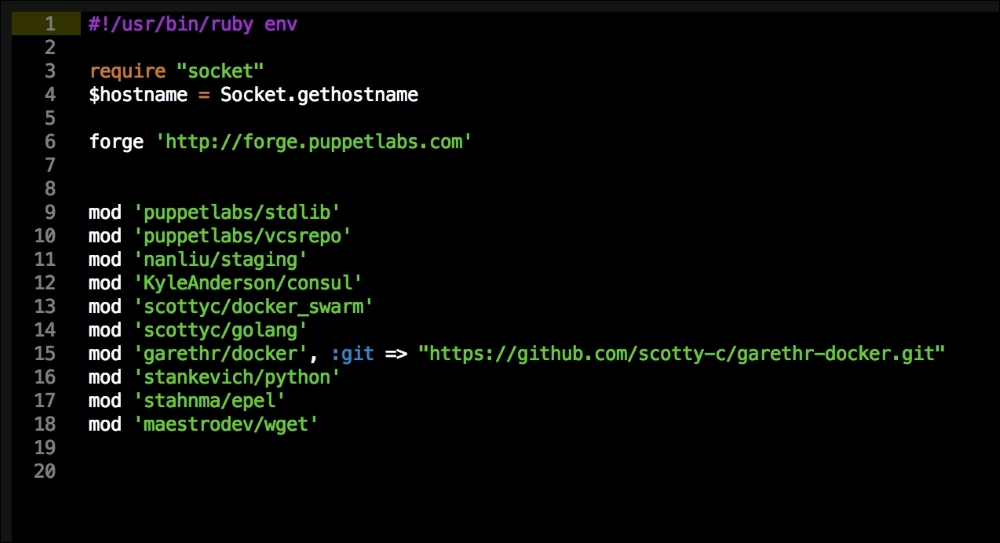
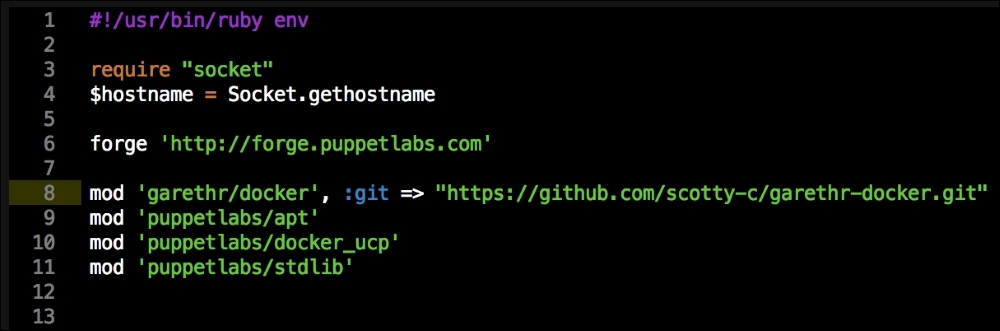
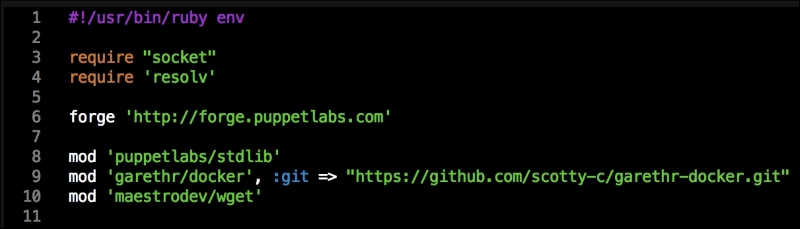
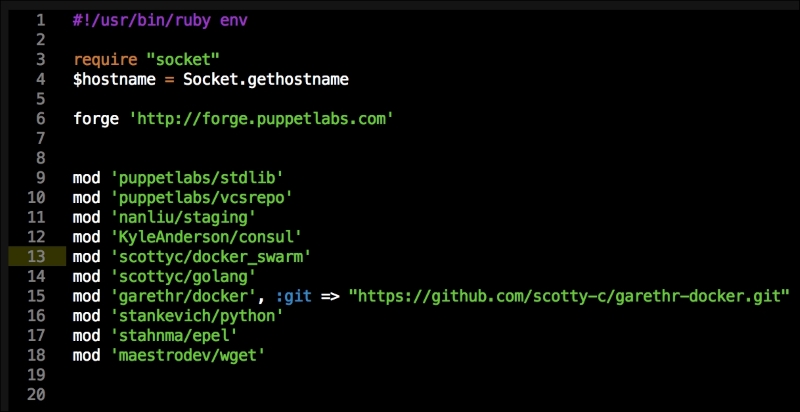
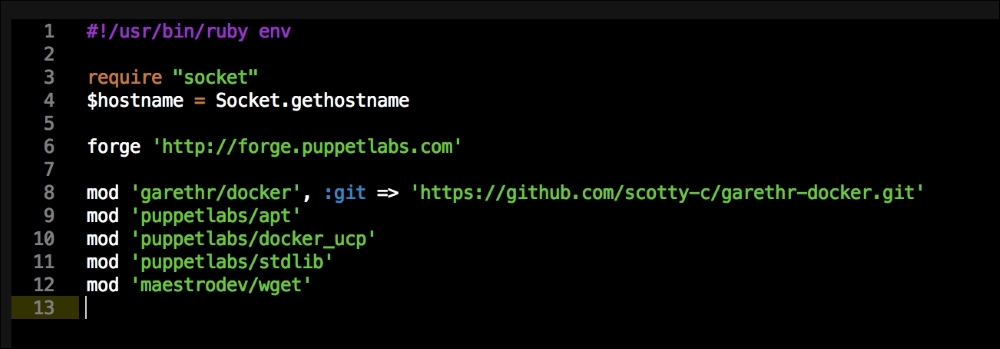
As you can see, there is nothing special there that we have not covered in this book. There's just a single node that we mentioned earlier, kubernetes. The next file we will look at is our Puppetfile. We will, of course, need our Docker module, stdlib, and lastly, wget. We need wget to get kubectl:
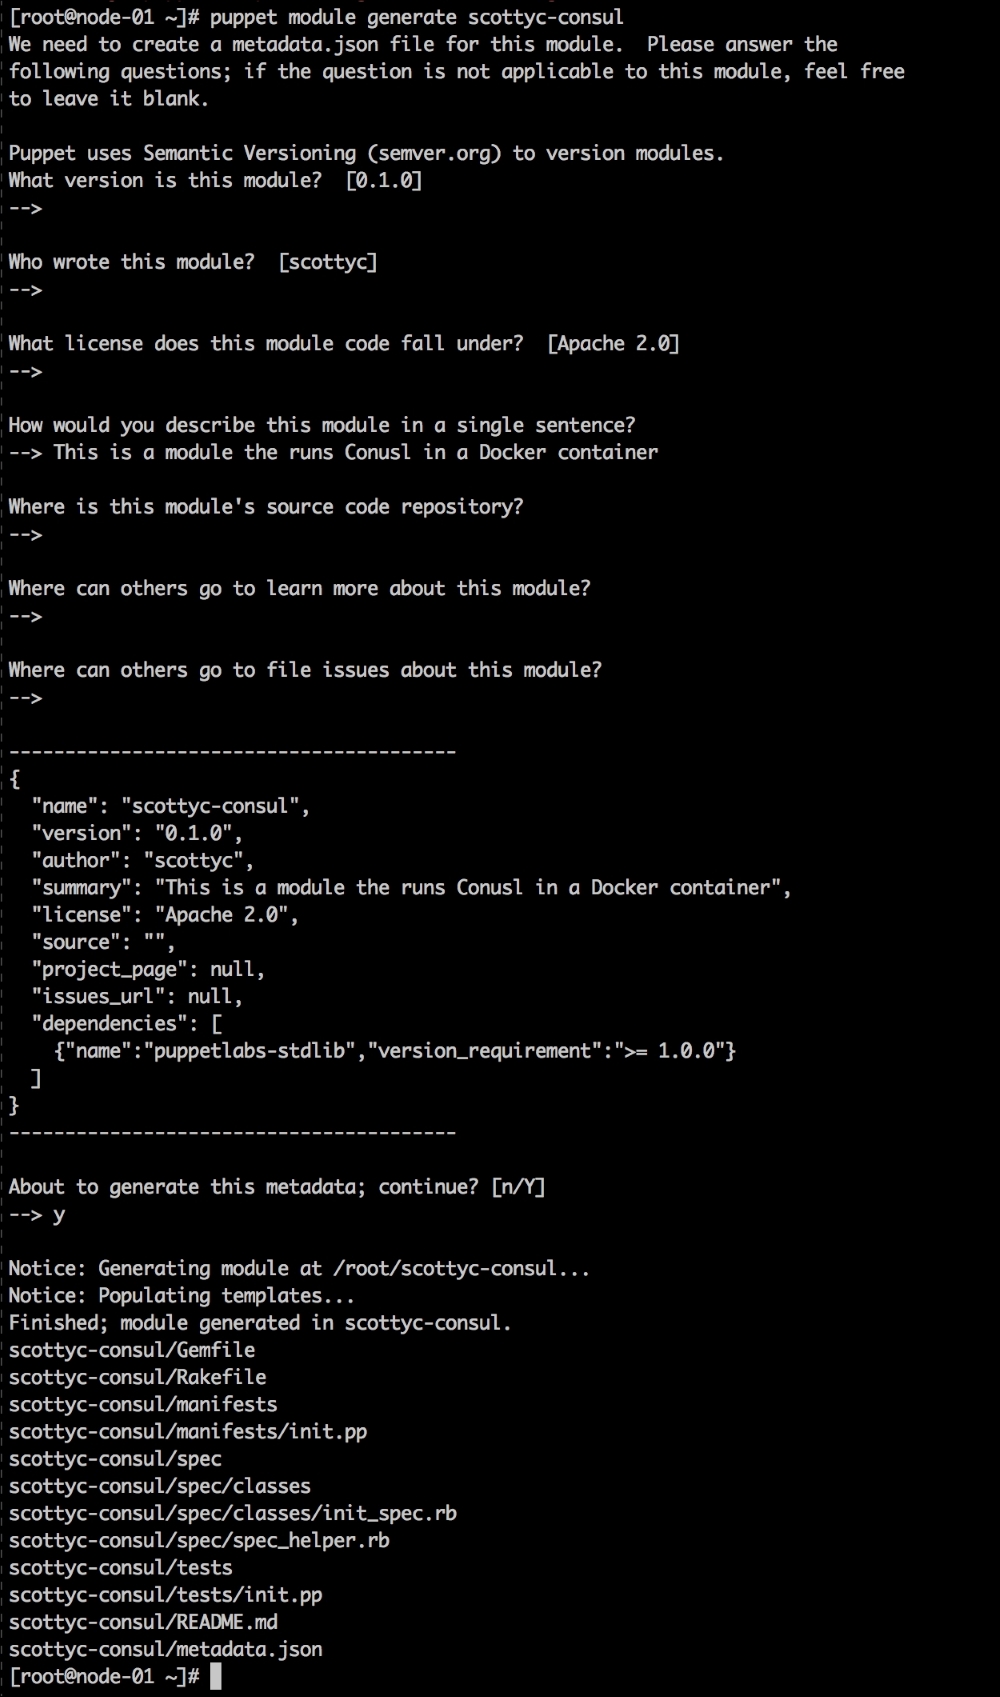
That is all the plumbing that we need to set up for our repo. Let's create a new module called <AUTHOR>-kubernetes_docker. Once it is created, we will move our module to the modules directory in the root of our Vagrant repo.
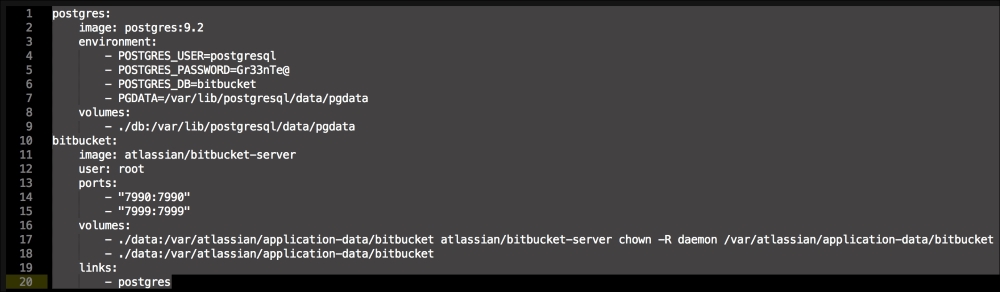
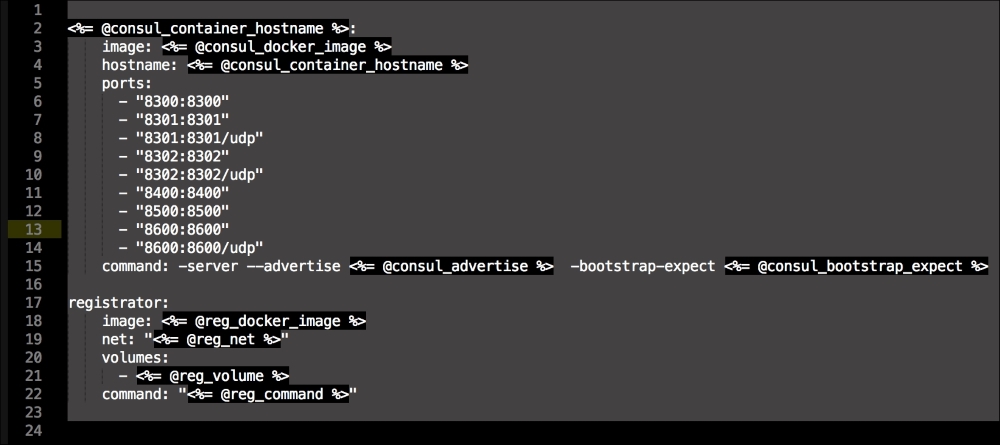
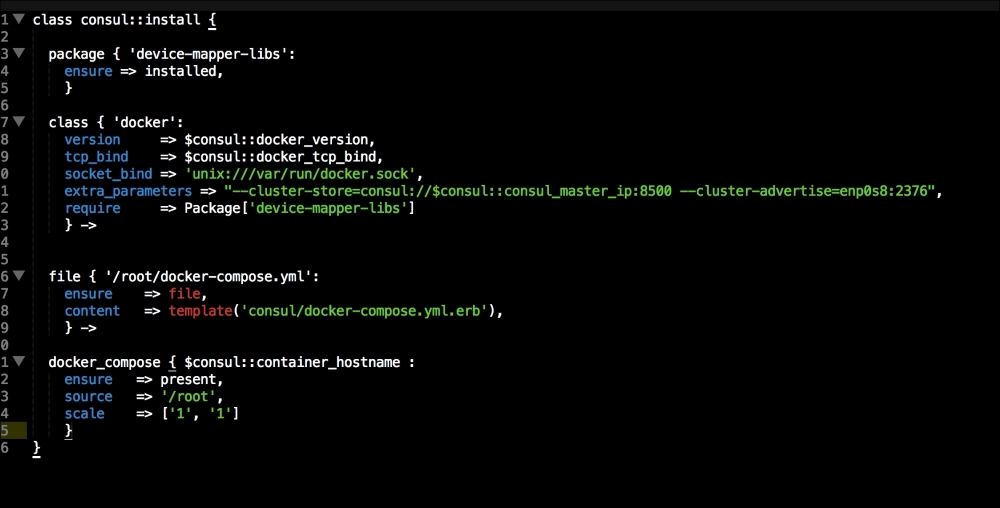
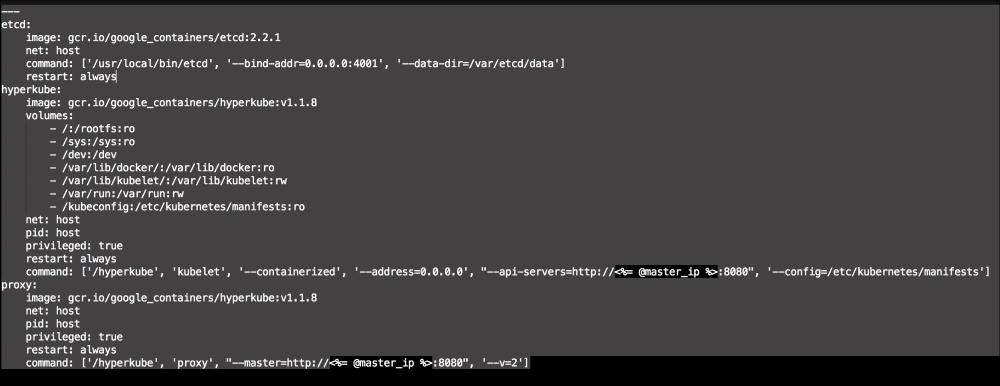
We are going to create two new folders in our module. The first will be the templates folder, and the other folder will be the lib directory. We will get to the lib directory toward the end of our coding. The first file we will create and edit is docker-compose.yml.erb. The reason for this is that it is the foundation of our module. We will add the following code to it:
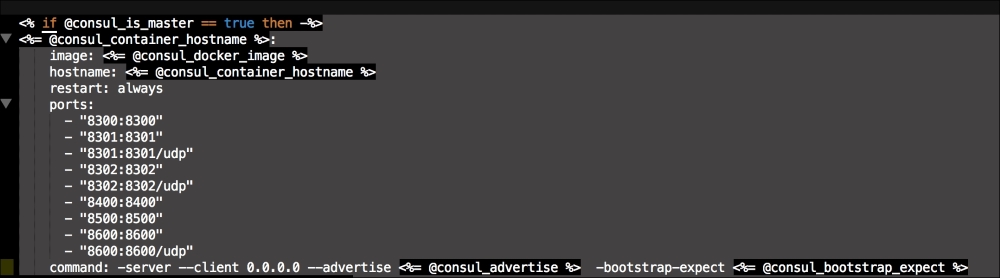
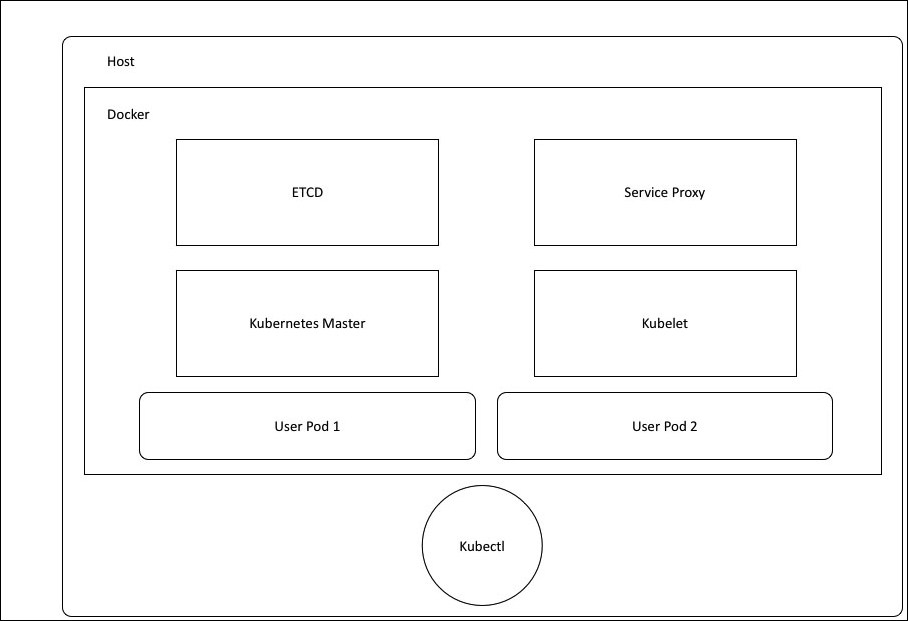
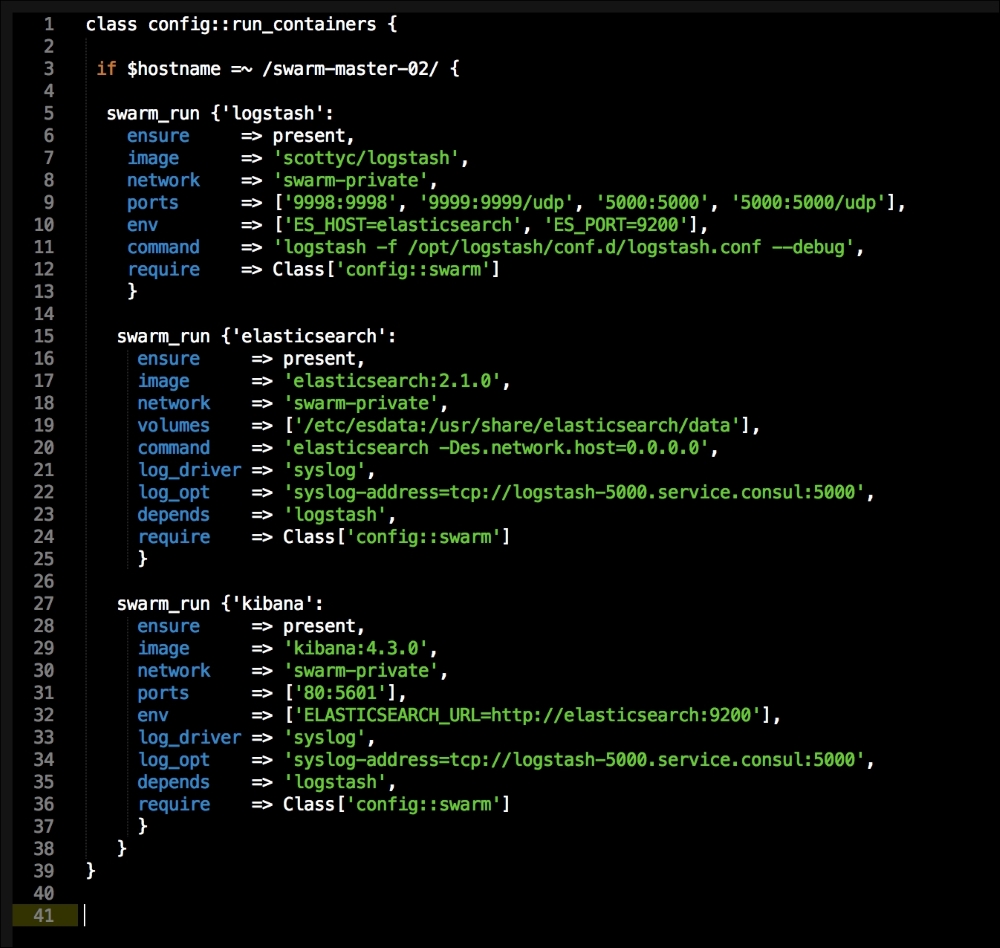
Let's break this file down into three chunks, as there is a lot going on there. The first block of code is going to set up our etcd cluster. You can see from the screenshot name that we are using Google's official images, and we are using etcd version 2.2.1. We are giving the container access to the host network. Then, in the command resource, we pass some arguments to etcd as it starts.
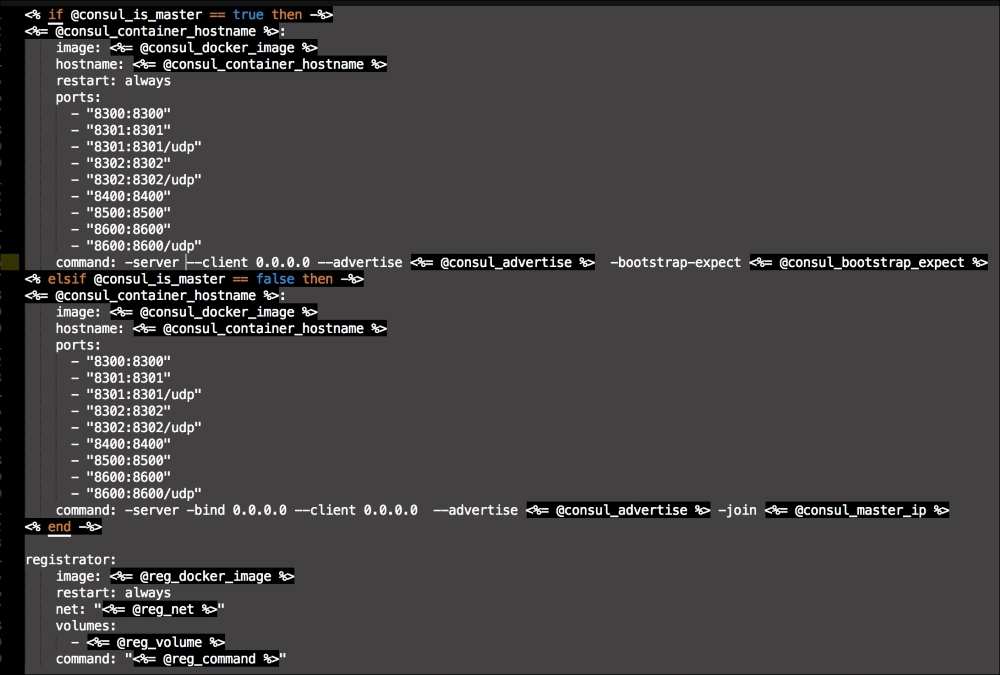
The next container we create is hyperkube. Again, it is an official Google image. Now, we are giving this container access to a lot of host volumes, the host network, and the host process, making the container privileged. This is because the first container will bootstrap Kubernetes and it will spawn more containers running the various Kubernertes components. Now, in the command resource, we are again passing some arguments for hyperkube. The two major ones we need to worry about are the API server address and config manifests. You will note that we have a mapped folder from /kubeconfig:/etc/kubernetes/manifests:ro. We are going to modify our manifest file to make our Kubernetes environment available to the outside world. We will get to that next. But, we will finish looking at the code in this file first.
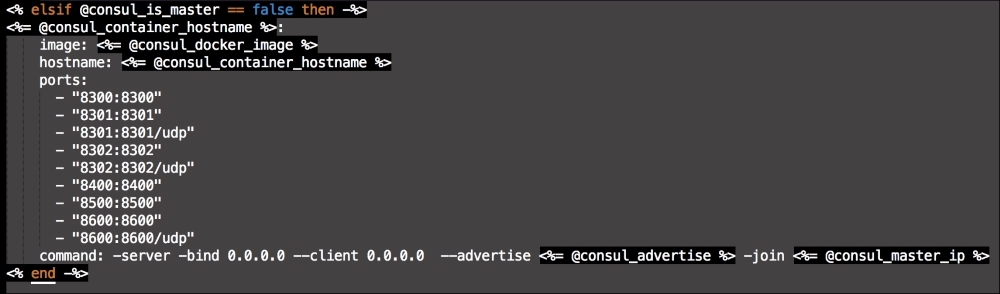
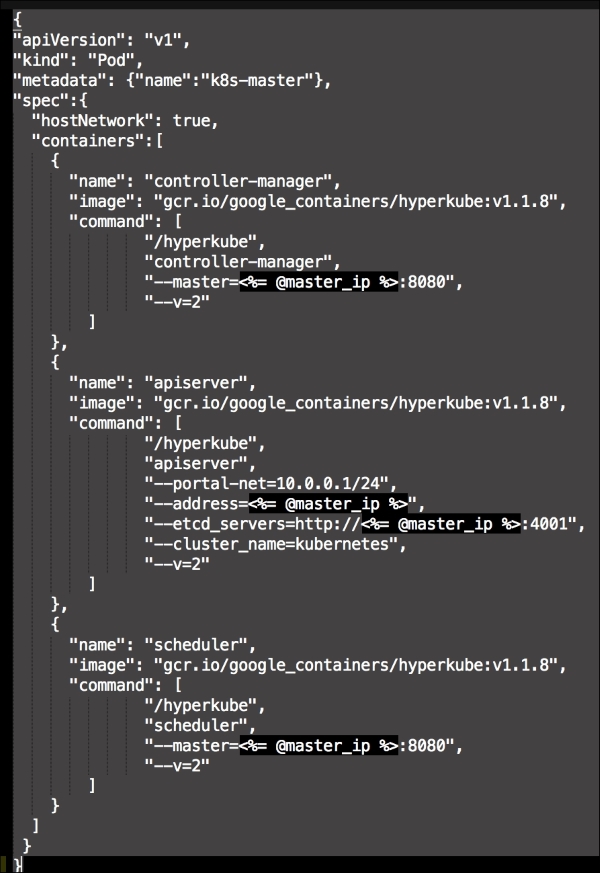
The last container and the third block of code is going to set up our service proxy. We are going to give this container access to the host network and process. In the command resource, we are going to specify that this container is a proxy. The next thing to take notice of is that we specify where the proxy can find the API. Now, let's create the next file, master.json.erb. This is the file that hyperkube will use to schedule all the Kubernetes components, which are as follows:
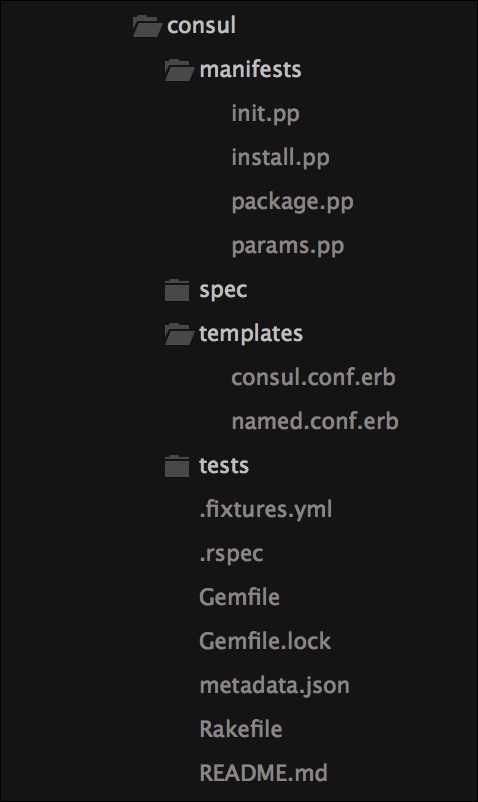
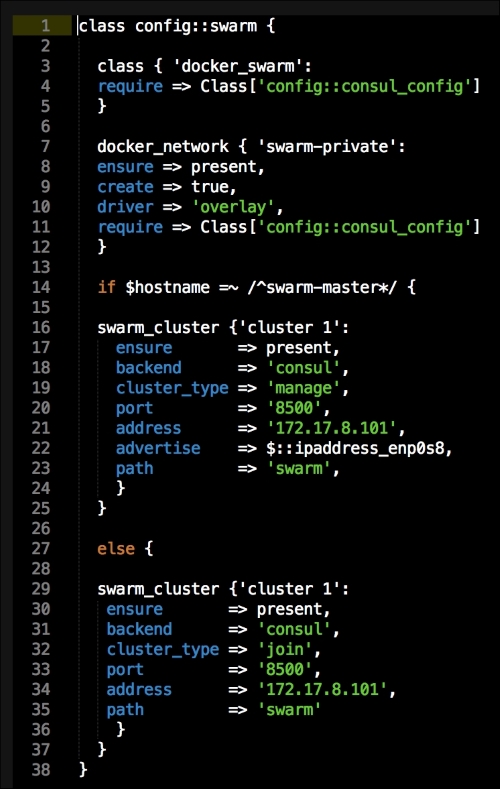
As you can see, we have defined three more containers. This is the first time we will define a Kubernetes pod (http://kubernetes.io/docs/user-guide/pods/). A pod is a group of containers that creates an application. It is similar to what we have done with Docker Compose. As you can see, we have changed all the IP addresses to the <%= @master_ip %> parameter. We will create four new files: apps.pp, config.pp, install.pp, and params.pp.
We will now move on to our files in the modules manifest directory. Now, strap yourselves in, as this is where the magic happens. Well, that's not true. The magic happens here and in our lib directory. We will need to write some custom types and providers for Puppet to be able to control Kubernertes as kubectl is the user interface (for types, visit https://docs.puppetlabs.com/guides/custom_types.html, and for providers, visit https://docs.puppetlabs.com/guides/provider_development.html).
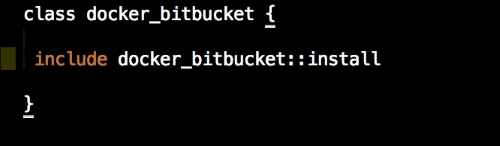
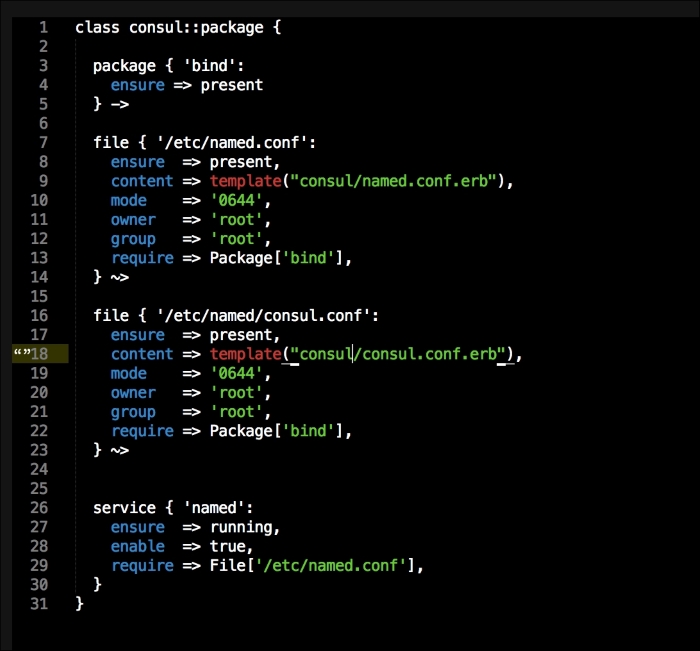
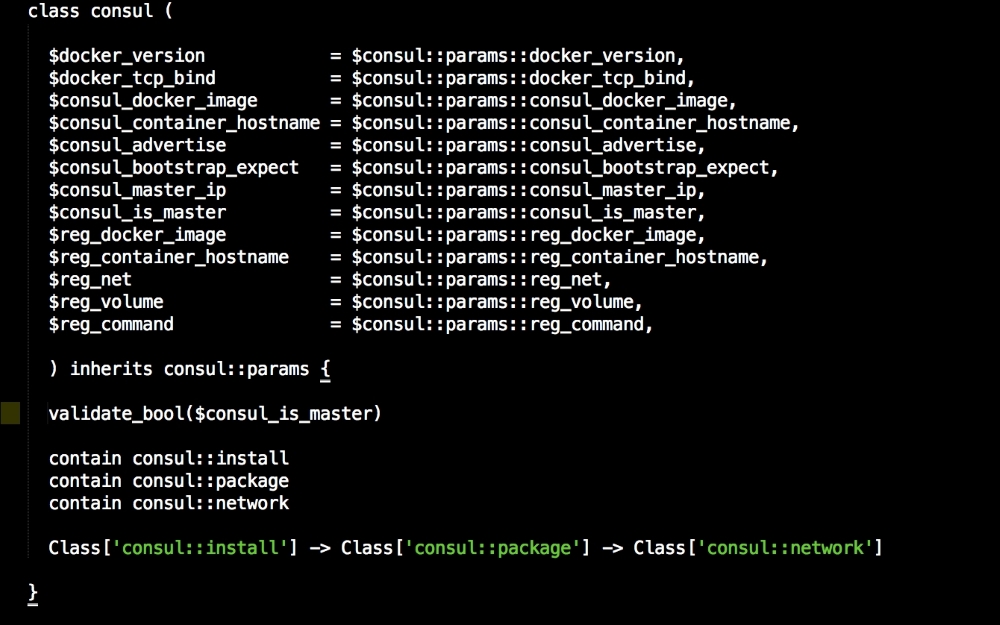
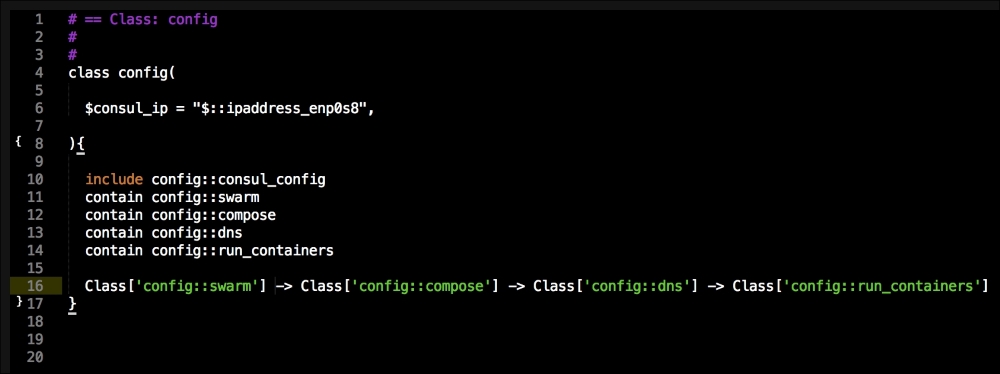
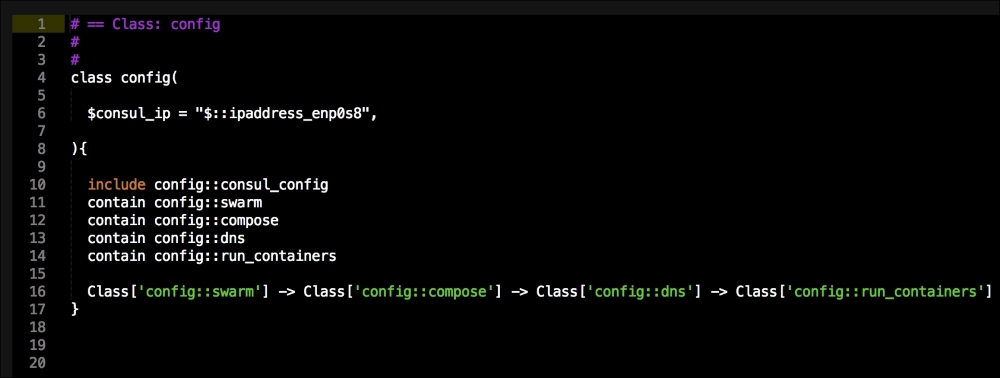
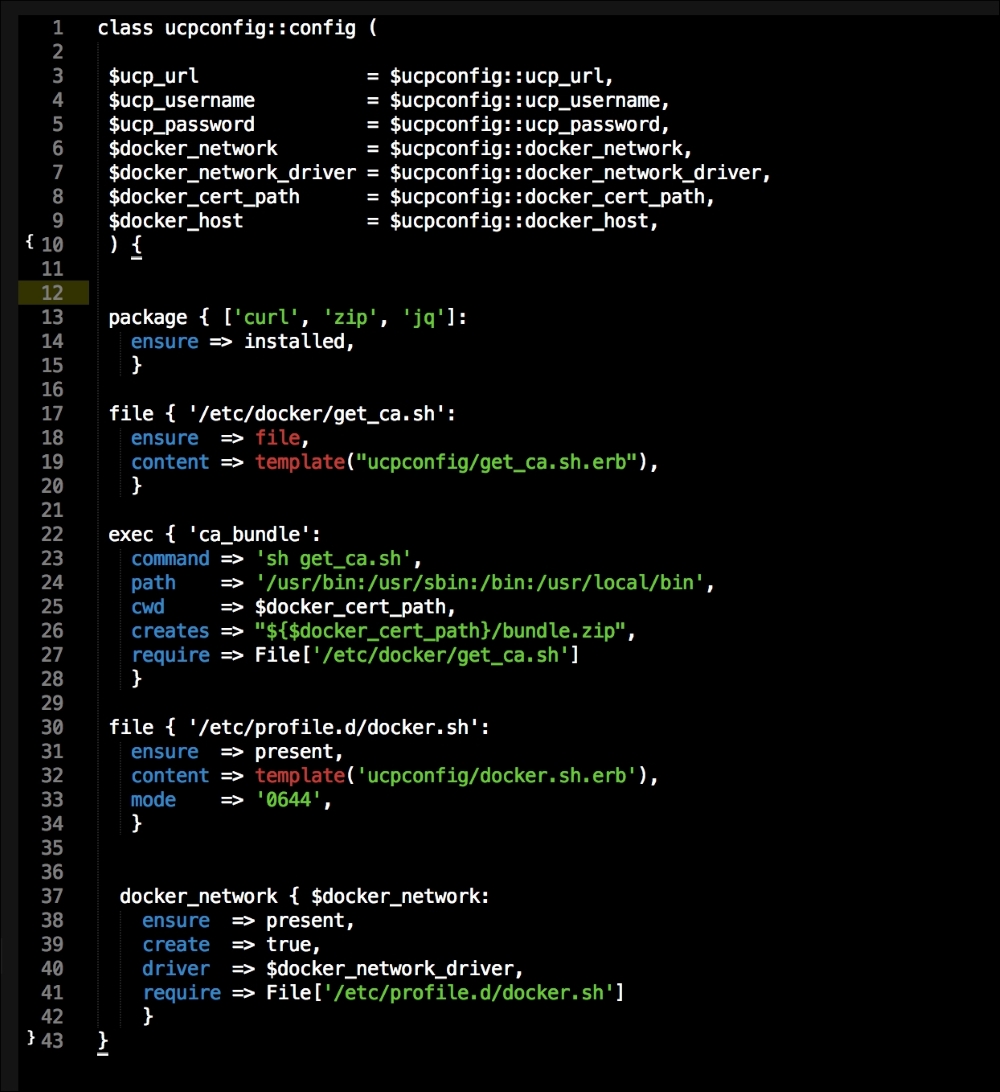
Let's start with our init,pp file, which is as follows:
As you can see, there is not much in this file. We are going to use our init.pp file to control the order in which classes are executed. We are also declaring param <%= @master_ip %>. We will now move on to our install.pp file, as follows:
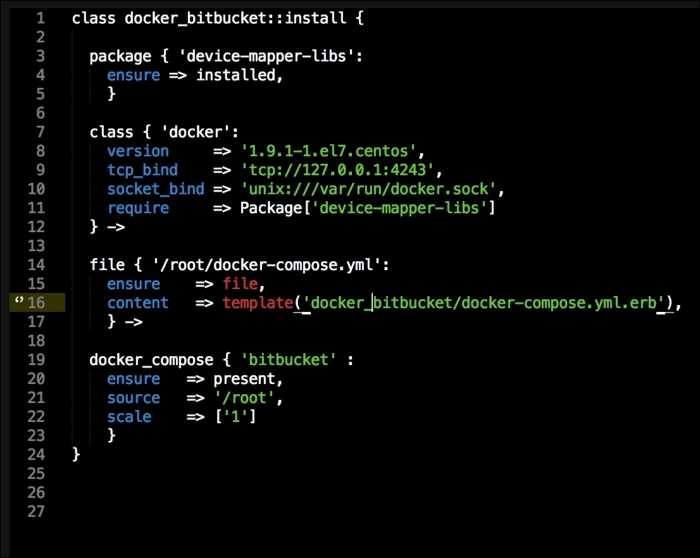
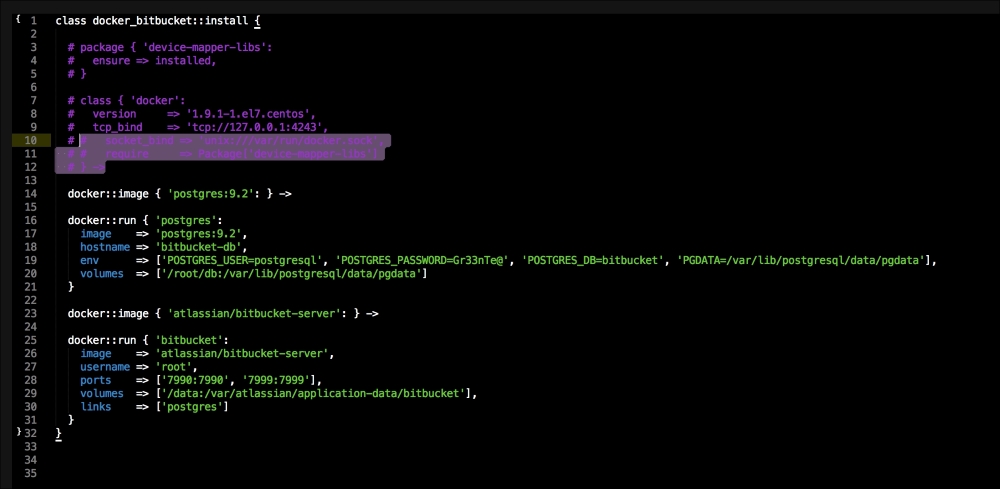
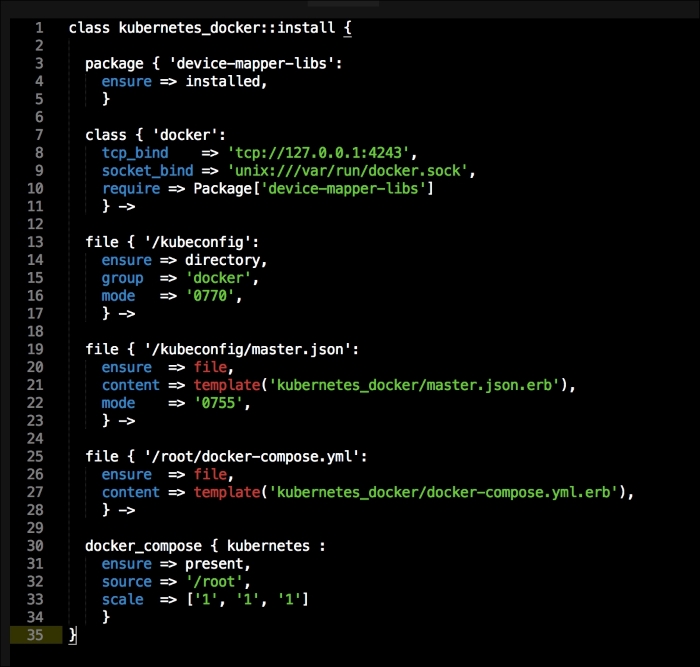
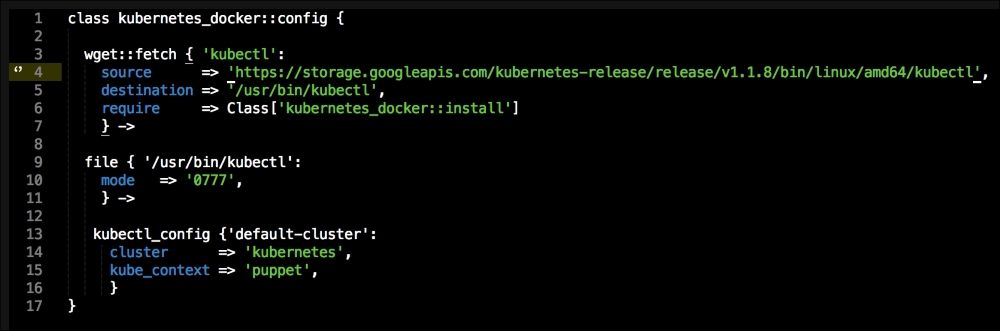
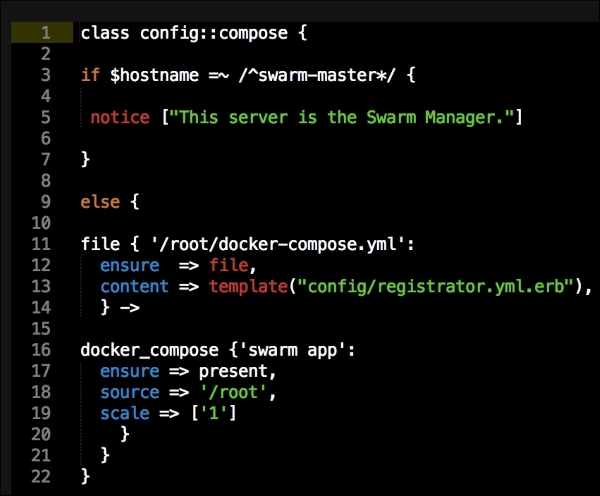
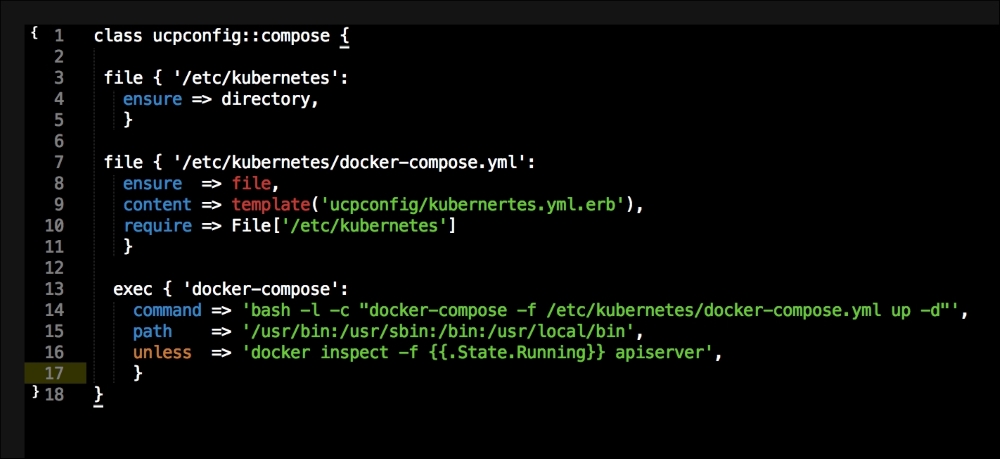
In this file, we install Docker as we did before. We will place our two templates that we created earlier. Then, we will run Docker Compose to bring up our cluster. Now, we will move on to config.pp, as follows:
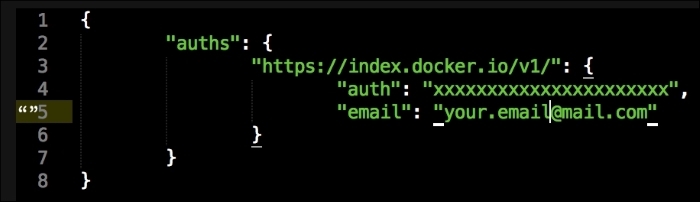
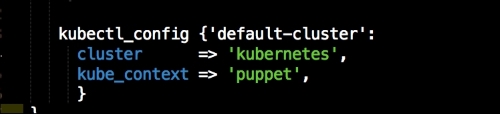
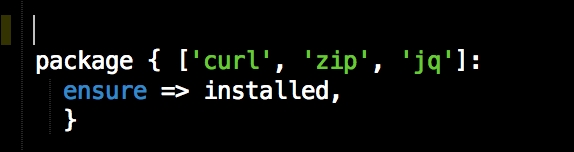
The first thing that we declare is that we want wget to be our kubectl client, and we place it at /usr/bin/ (http://kubernetes.io/docs/user-guide/kubectl/kubectl/). You really need to understand what this interface does; otherwise, you might get a bit lost from here. So, I suggest that you have a fairly good idea of what kubectl is and what it is capable of. Next, we will make it executable and available for all our users. Now, this last piece of code does not make sense, as we have not called the kubectl_config class yet:
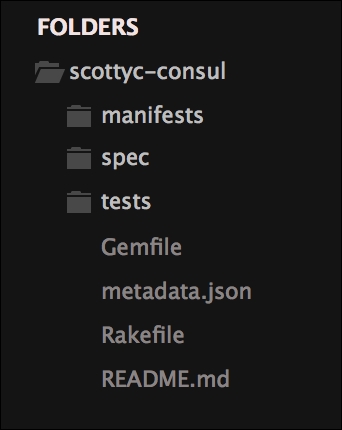
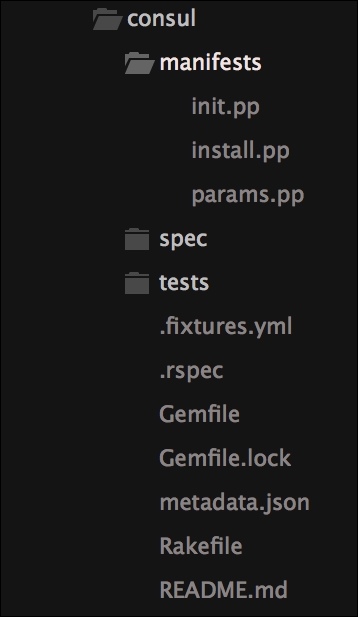
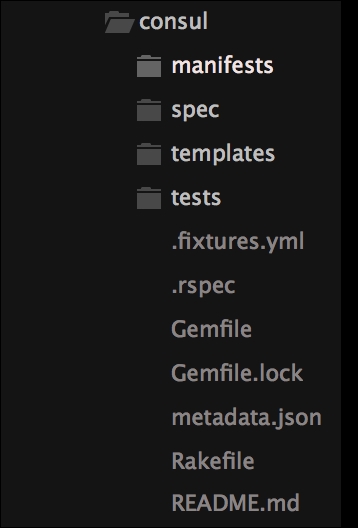
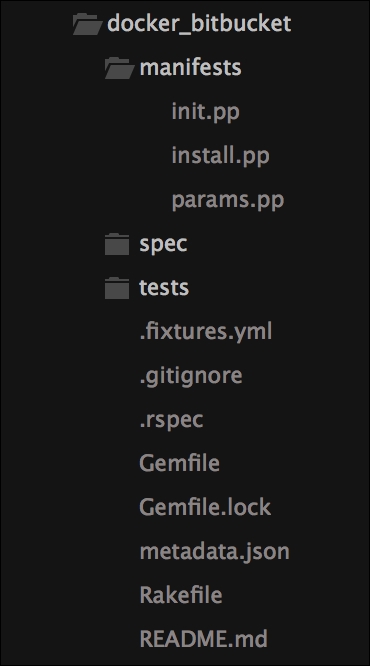
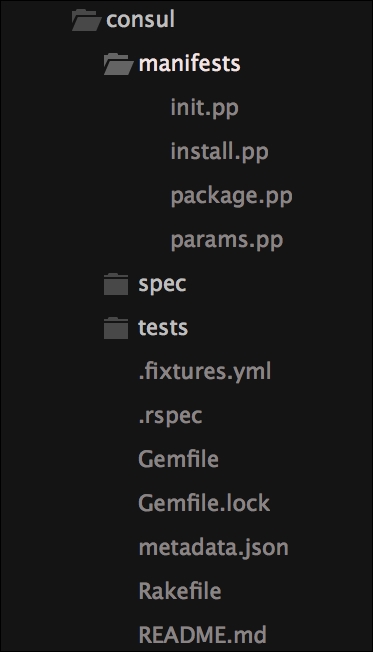
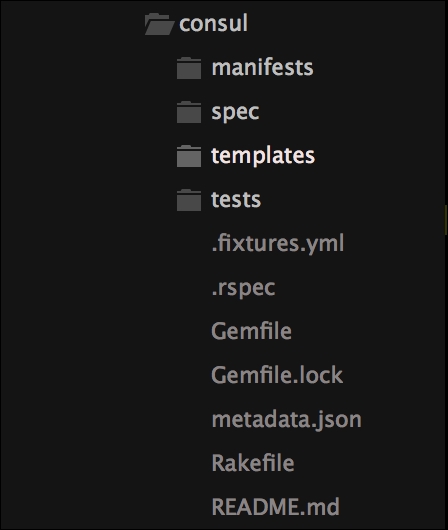
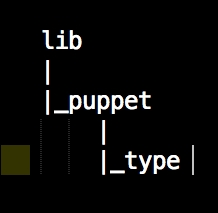
We now need to jump to our lib directory. This first thing we will do is create all our folders that we need. The first folder that we will create is puppet under the lib directory. We will look at our custom types first. We will create a folder called type under puppet. The following screenshot will give you a visualization of the structure:
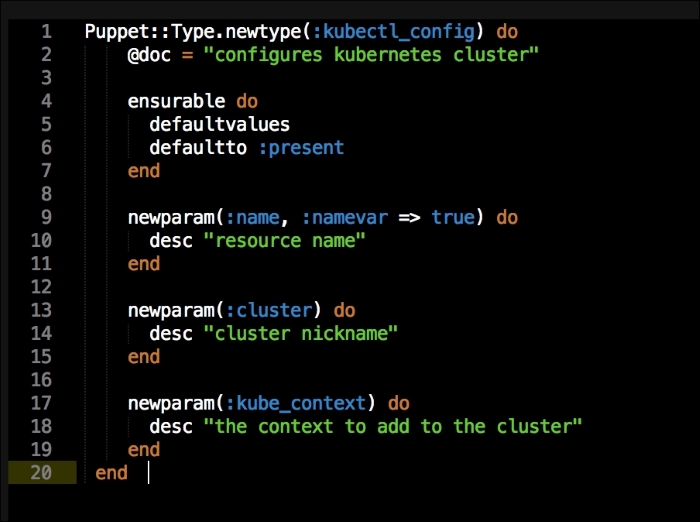
Under the type folder, we will create a file called kubectl_config.rb. In that file, we will add the new parameters of type as follows:
Let me explain what is happening here. In the first line, we are going to declare our new type, kubectl_config. We are then going to set the default value of the new type when it is declared as present. We are going to declare three values to our type, name, cluster, and kube_context. These are all settings that we will add to our config file that kubectl will use when we interface with it. Now, we will create a folder under the lib directory called provider. Then, under that, we will create a folder with the same name as our custom type, kubectl_config. Inside that folder, we will create a file called ruby.rb. In this file, we will put the Ruby code that provides logic to our type as follows:
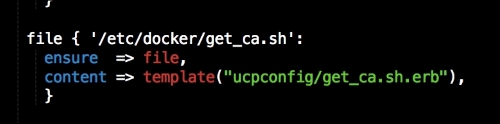
A provider needs to have three methods for Puppet to be able to run the code. They are exsists?, create, and destroy. These are pretty easy to understand. The exists? method checks whether the type has already been executed by Puppet, create runs the type, and destroy is invoked when the type is set to absent.
We are now going to work through the file, from top to bottom. We need to first load a few Ruby libraries for some of our methods. We will then tie this provider to our type. The next thing that we need to declare is the kubectl executable.
Now we will write our first method, interface. This will get the IP address from the hostname of the box. We will then create three more methods. We will also create an array and add all our configuration to them. You will note that we are mapping our parameters from our type in the arrays.
In our exists? method, we will check for our kubectl config file.
In our create method, we are calling our kubectl executable and then passing our arrays as arguments. We will then link our config file to roots' home directory (this is fine for our lab. In a production environment, I would use a named user account).
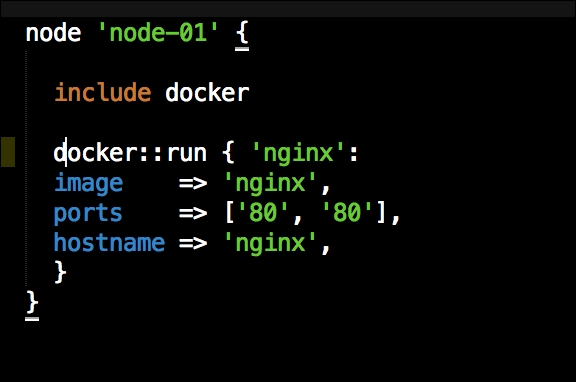
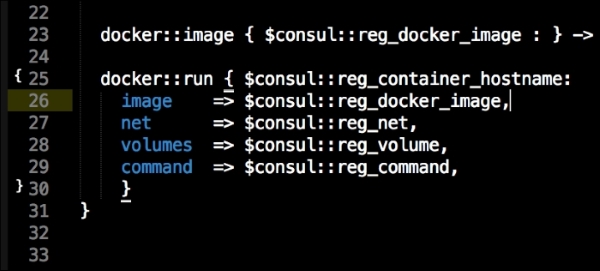
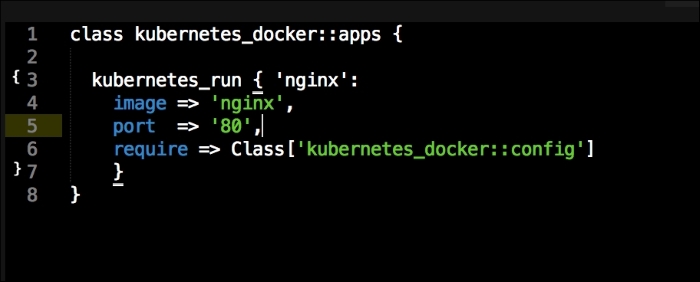
Lastly, we will remove the config file if the type is set to absent. We will now go back to our manifests directory and look at our last file, which is apps.pp:
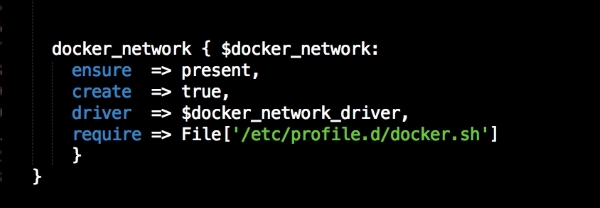
In this file, we are going to run a container application on our Kubernetes cluster. Again, we will write another custom type and provider. Before we get to that, we should look at the code in this class. As you can see, our type is called kubernetes_run. We can see that our service is named nginx, the Docker image we will pull is nginx, and we will then expose port 80.
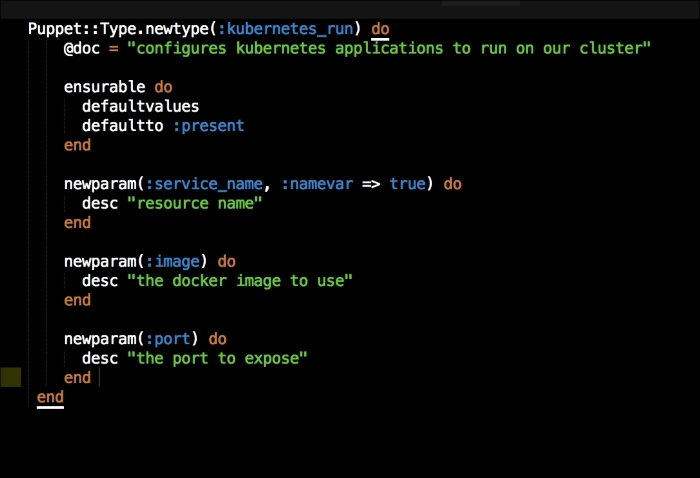
Let's go back to our lib directory. We will then create a file in our type folder called kubernetes_run.rb. In this file, we will set up our custom type as we did earlier:
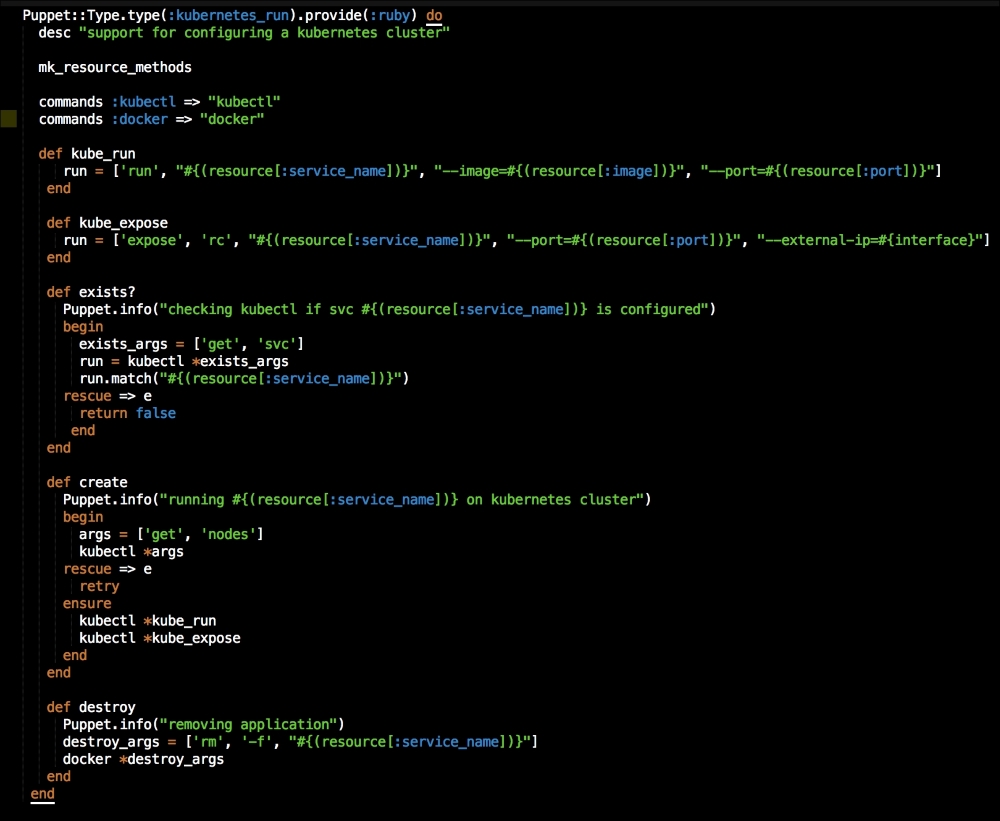
As you can see, we are mapping the same parameters that we had in our apps.pp file. We will then create a folder under the provider folder with the same name as our kubernetes_run type. Again, in the newly created directory, we will create a file called ruby.rb. It will have the code shown in the following screenshot:
In this file, we are going to add two commands this time: the first is kubectl and the second is docker. We will create two methods, again with arrays that map the values from our type.
Now, let's look at our exists? method. We are going to pass an array as an argument to kubectl to check whether the service exists. We are then going to catch the error if kubectl throws an error with the request and returns false. This is used if there are no services deployed on the cluster.
In our create method, we will first pass an array to kubectl to get the nodes in the cluster. We are using this as an arbitrary command to make sure that the cluster is up. Under that, we will capture the error and retry the command until it is successful. Once it is successful, we will deploy our container with the ensure resource.
In the destroy method, we will use docker to remove our container.
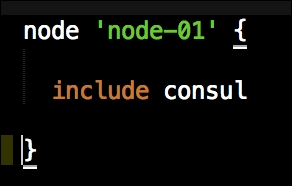
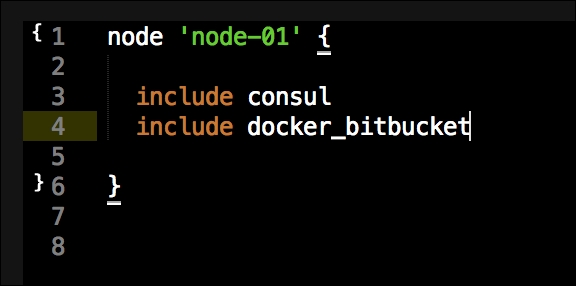
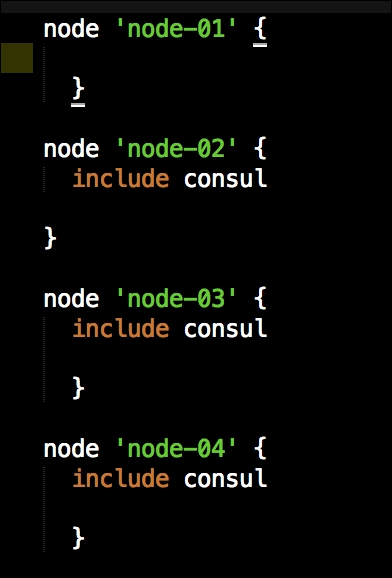
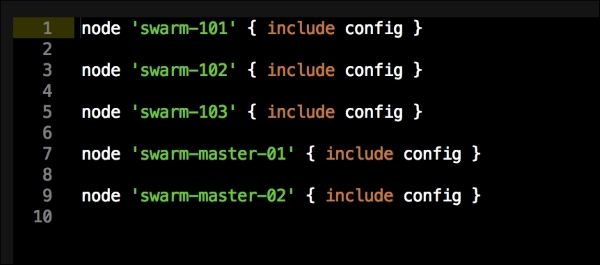
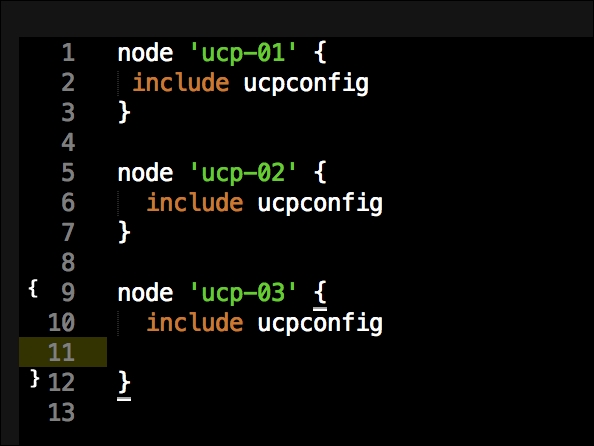
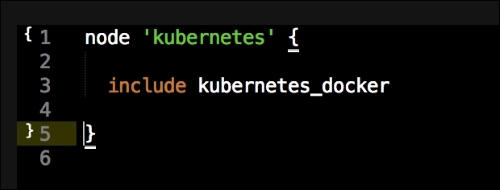
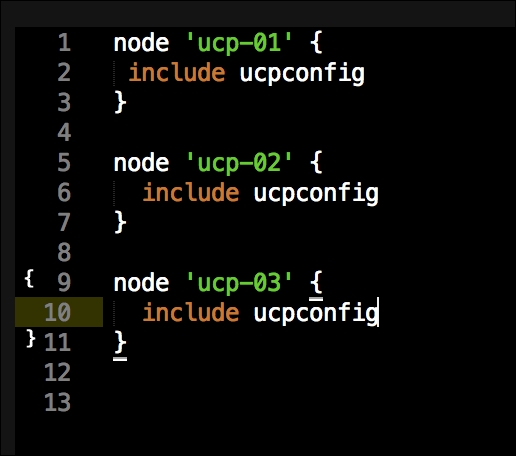
Now we have all our coding done. We just need to add our class to our node by editing our default.pp file in the manifests folder in the root of our Vagrant repo as follows:
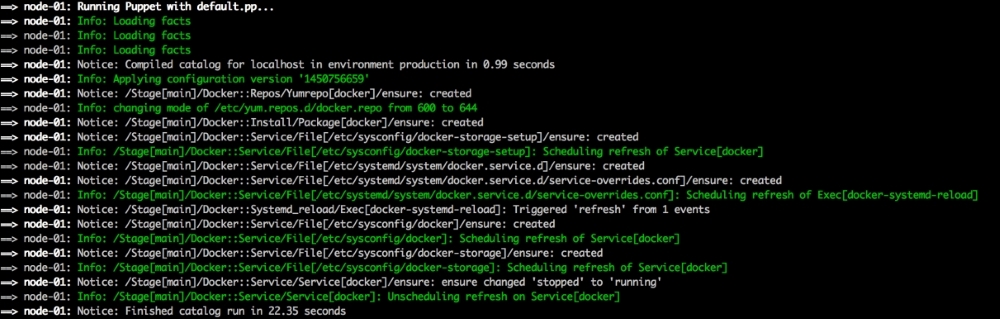
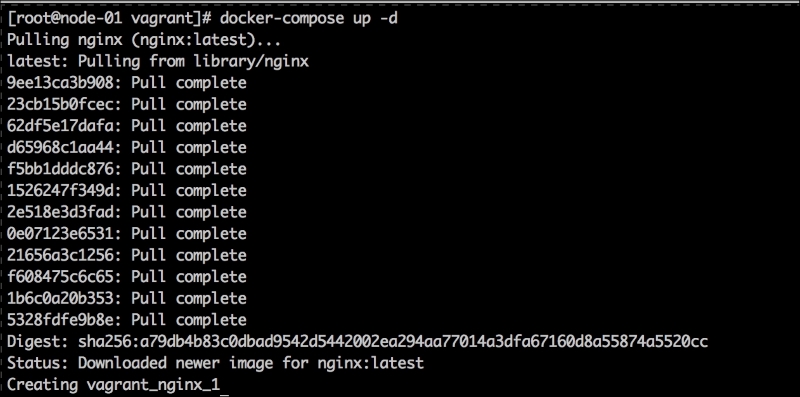
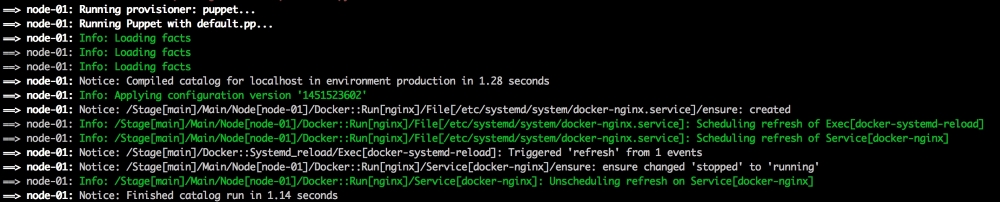
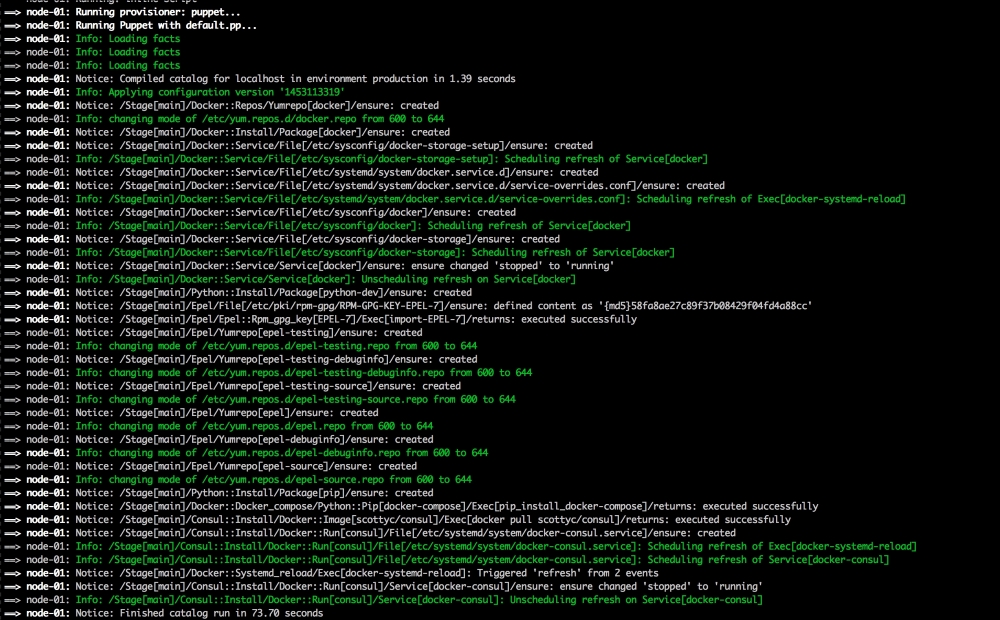
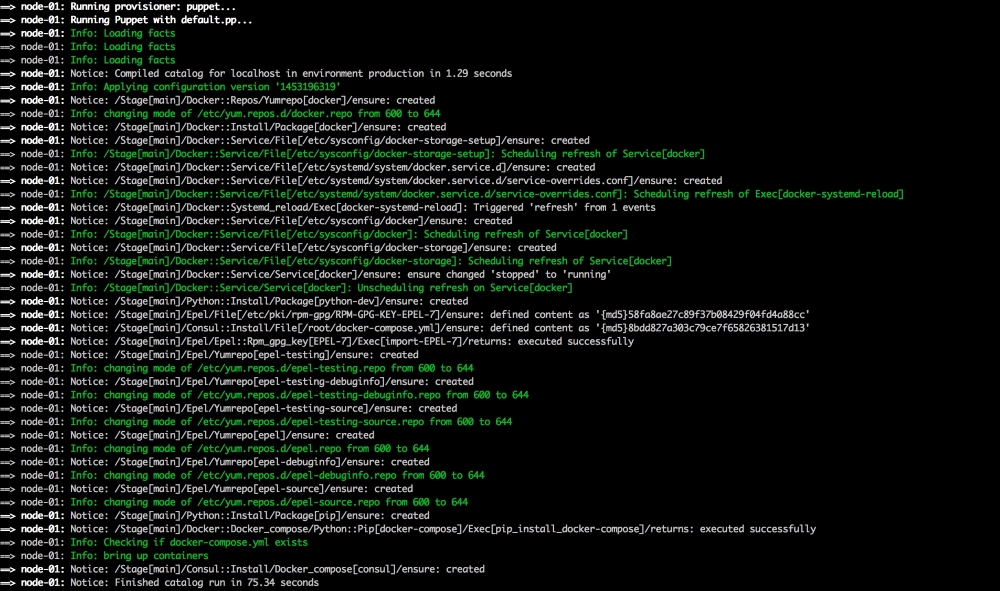
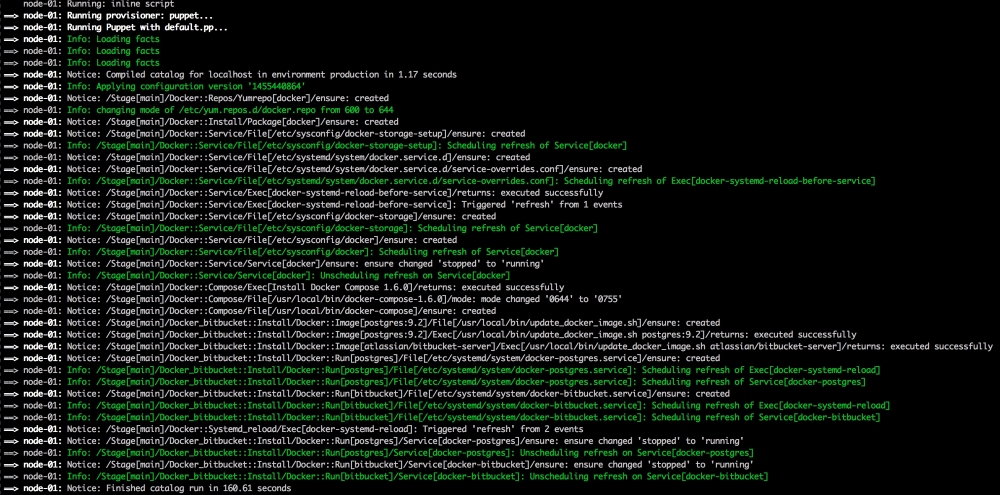
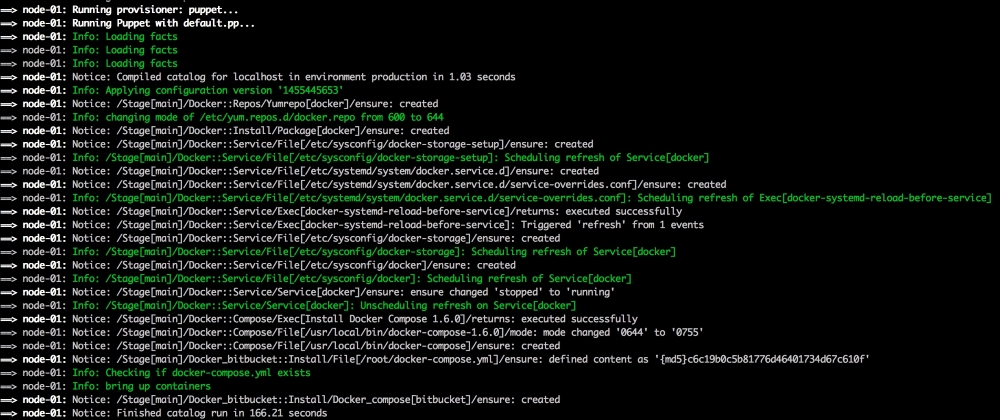
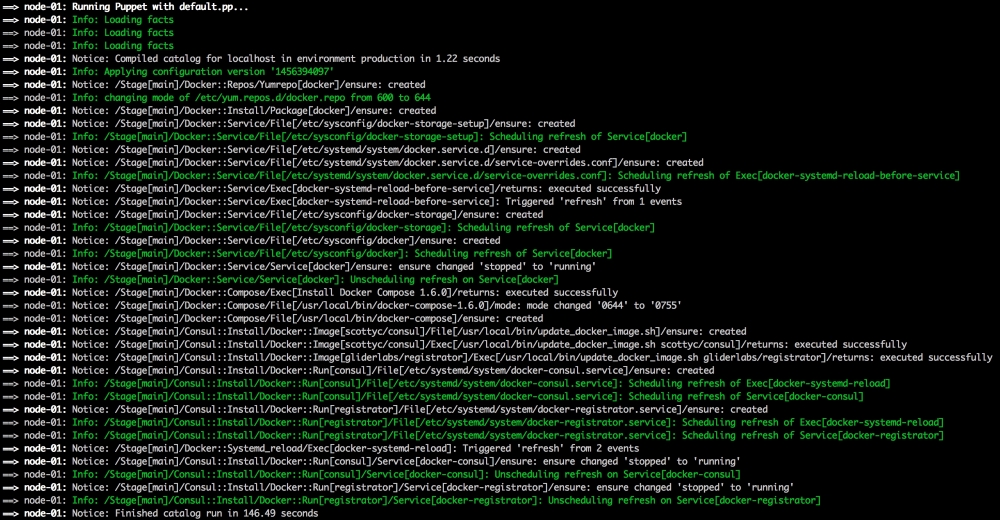
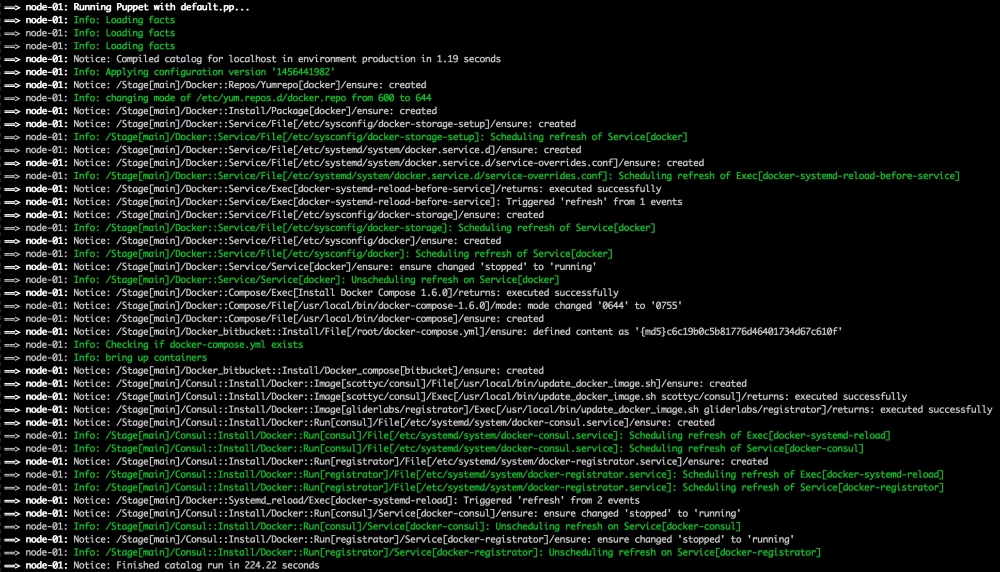
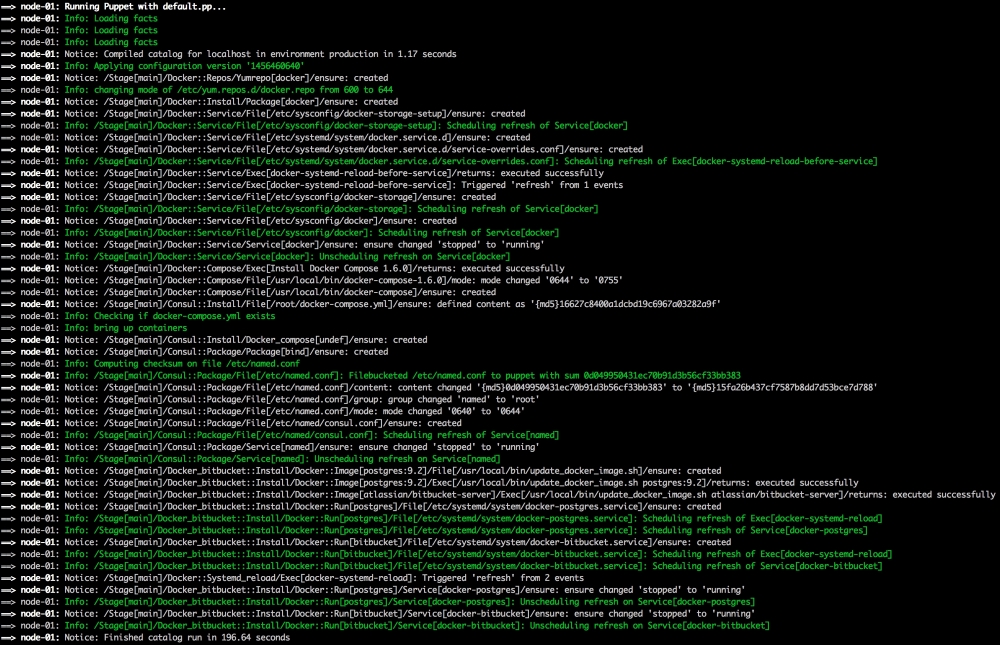
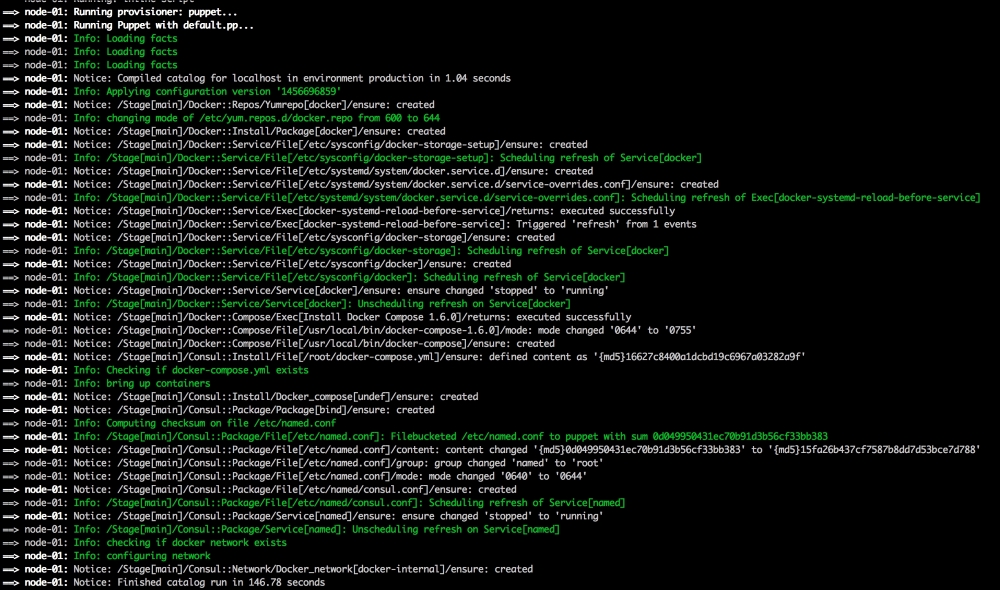
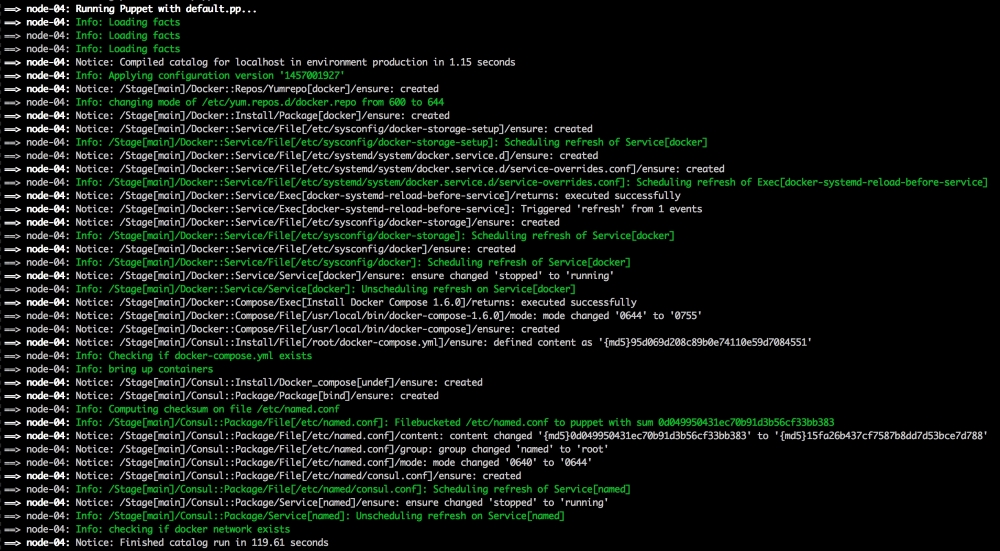
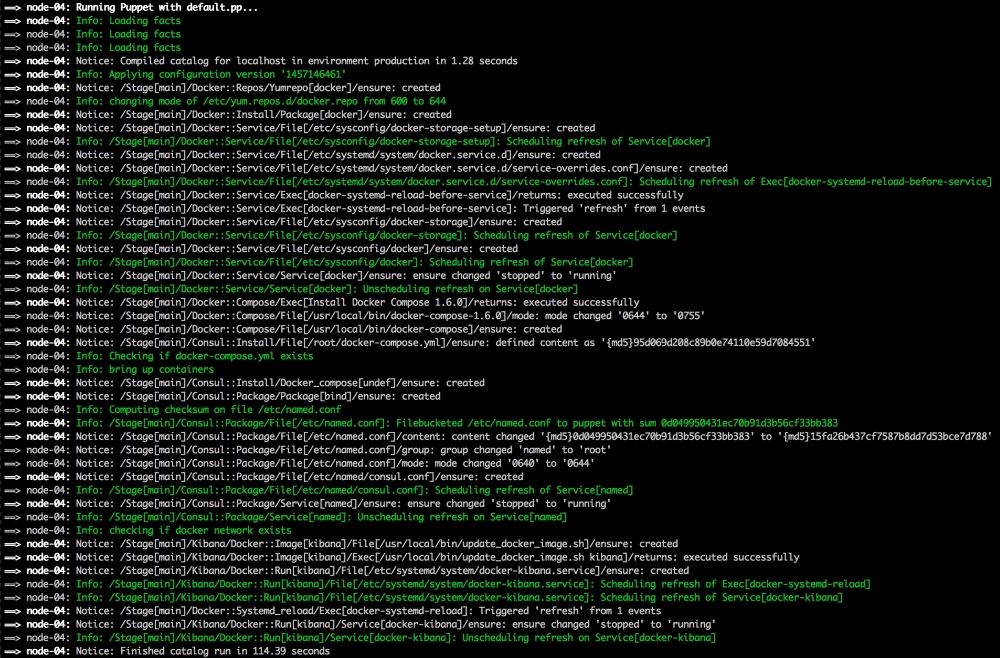
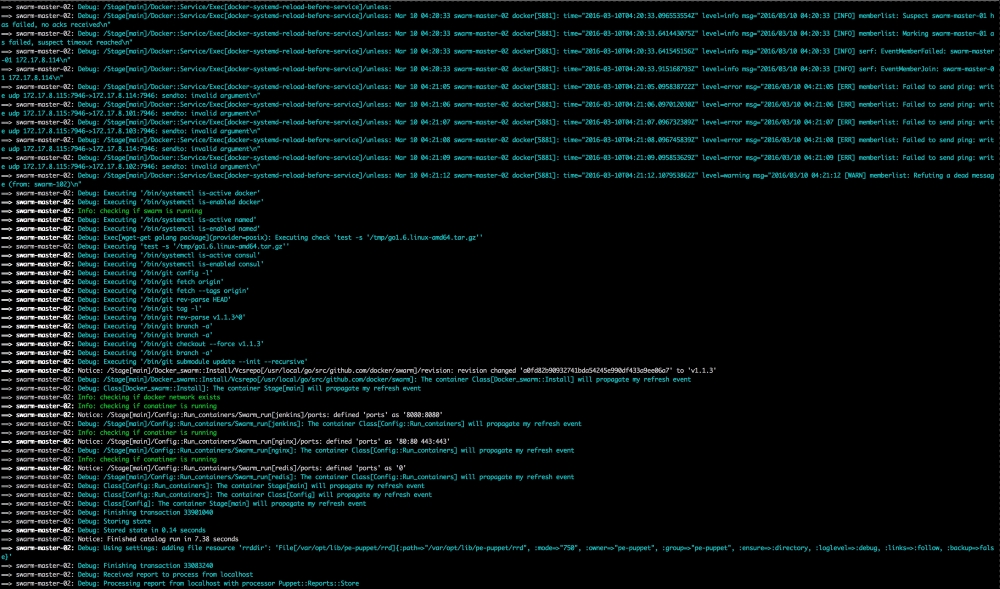
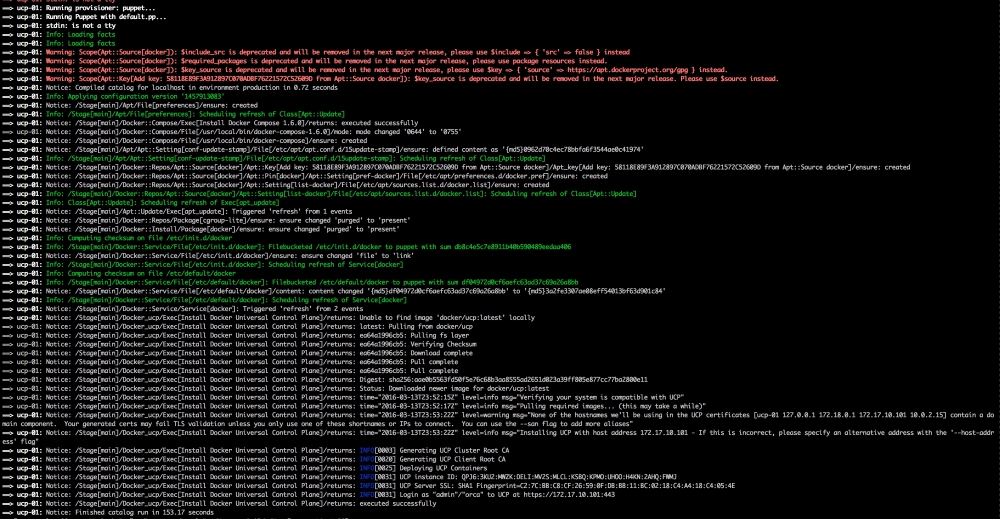
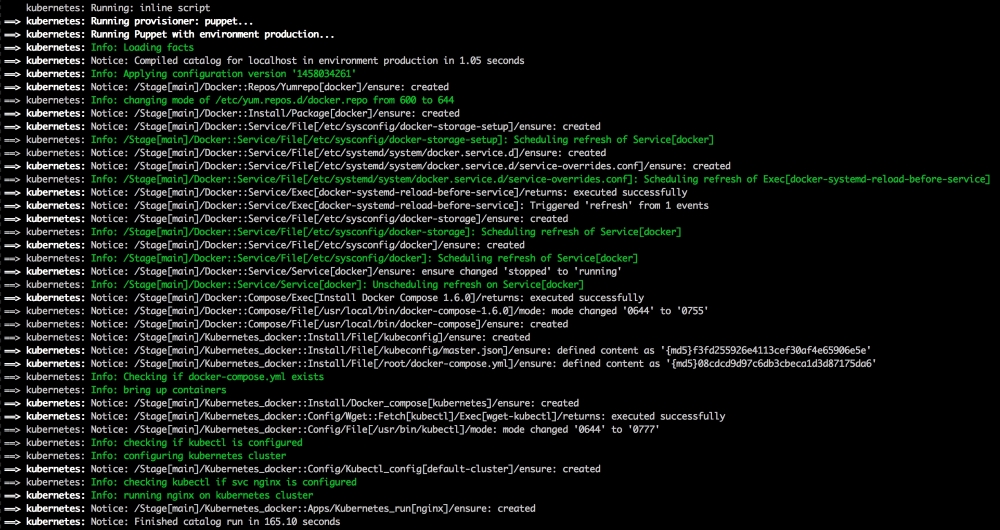
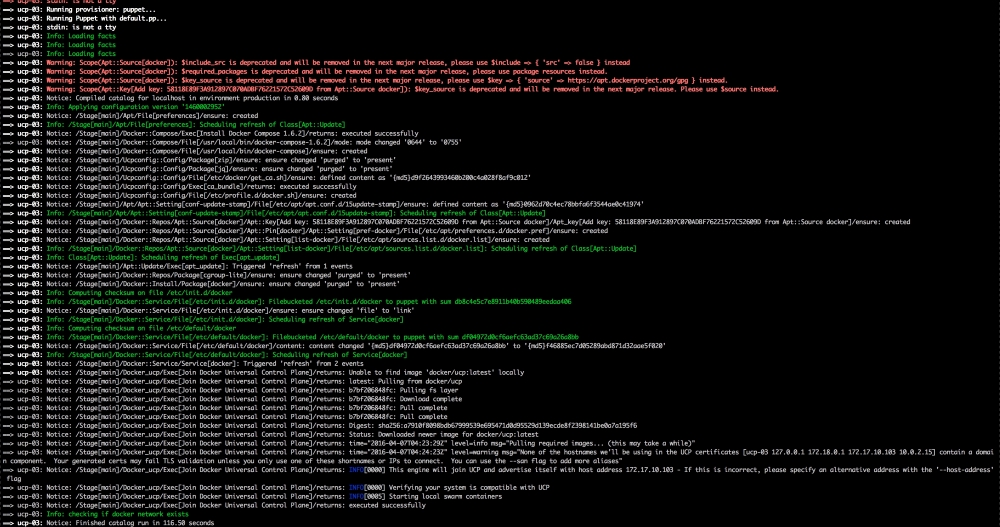
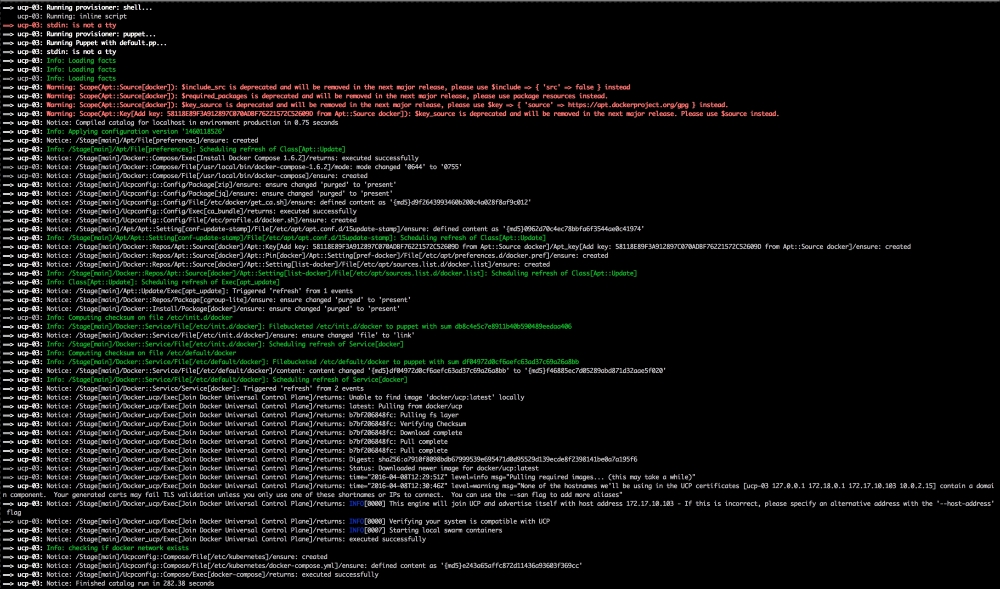
Now, let's open our terminal and change the directory to the root of our Vagrant repo and issue the vagrant up command. Once Puppet has completed its run, our terminal should look like the following screenshot:
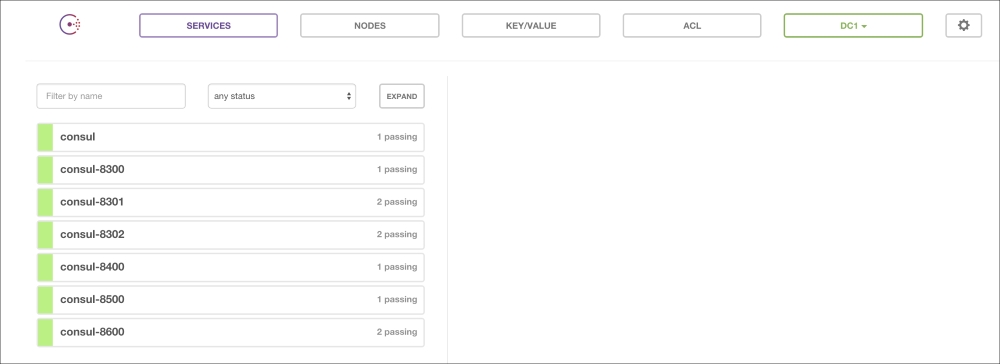
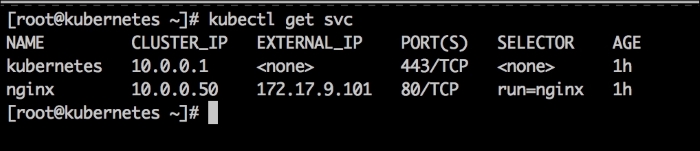
We will now log in to our vagrant box by issuing the vagrant ssh command and then sudo -i and change to root. Once we are root, we will look at our service on our cluster. We will do this by issuing the kubectl get svc command as follows:
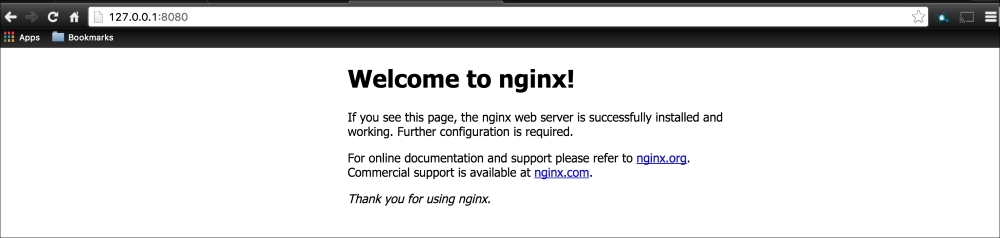
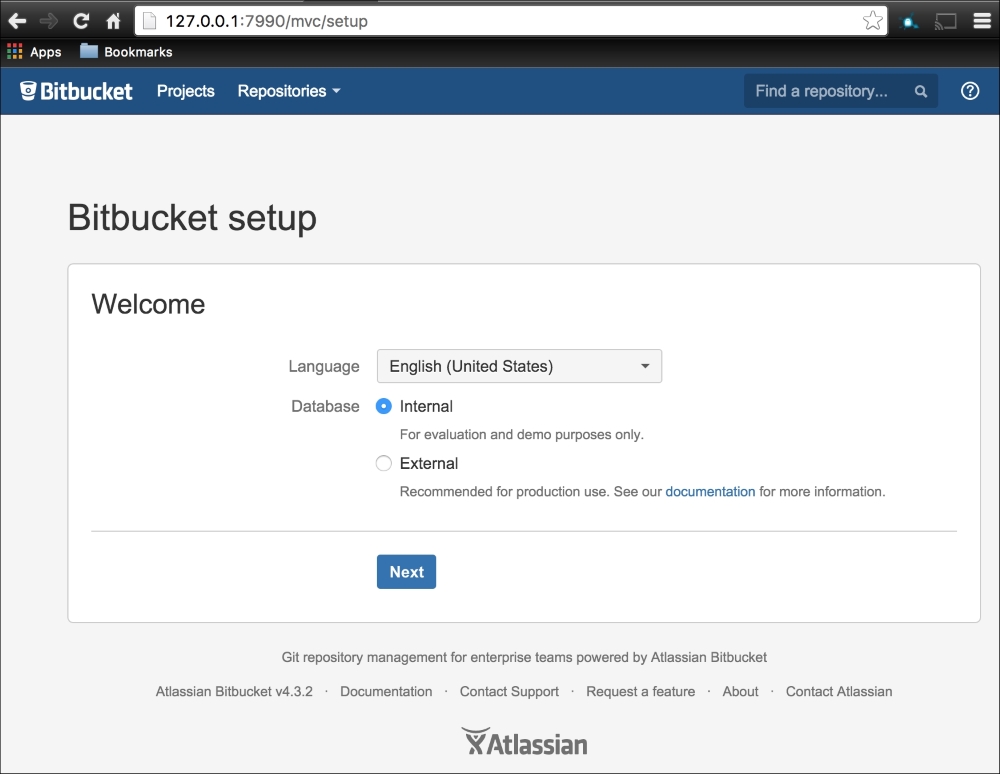
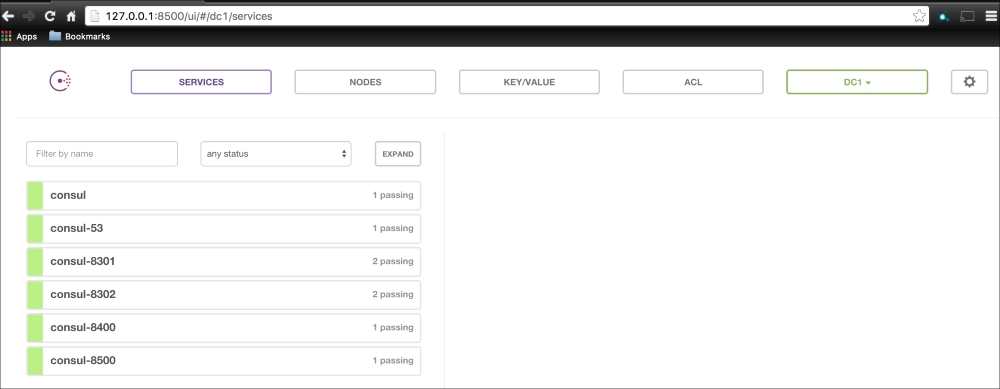
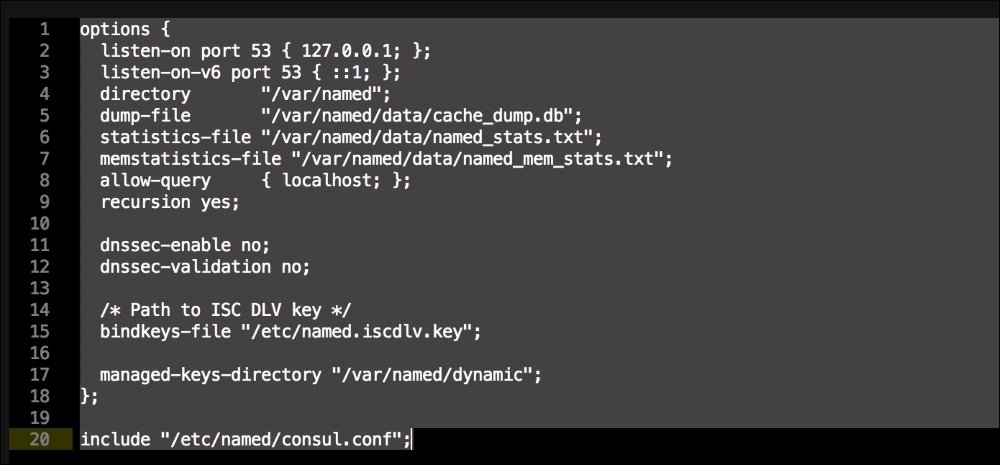
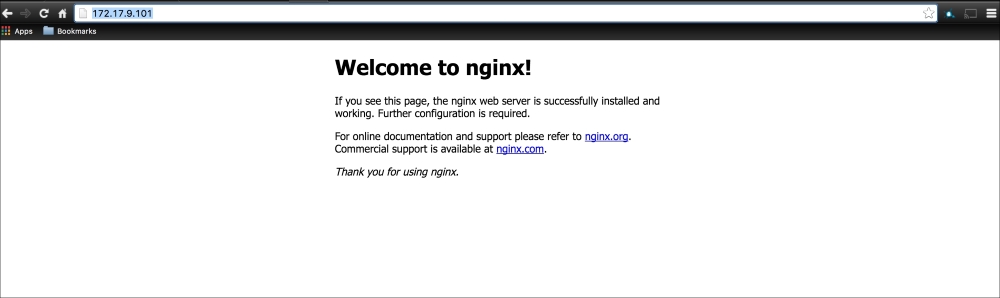
As you can see, we have two services running our cluster: Kubernetes and nginx. If we go to our web browser and go to the address we gave to the second network interface, http://172.17.9.101, we will get the following nginx default page:
Now, our cluster is running successfully with our nginx service.